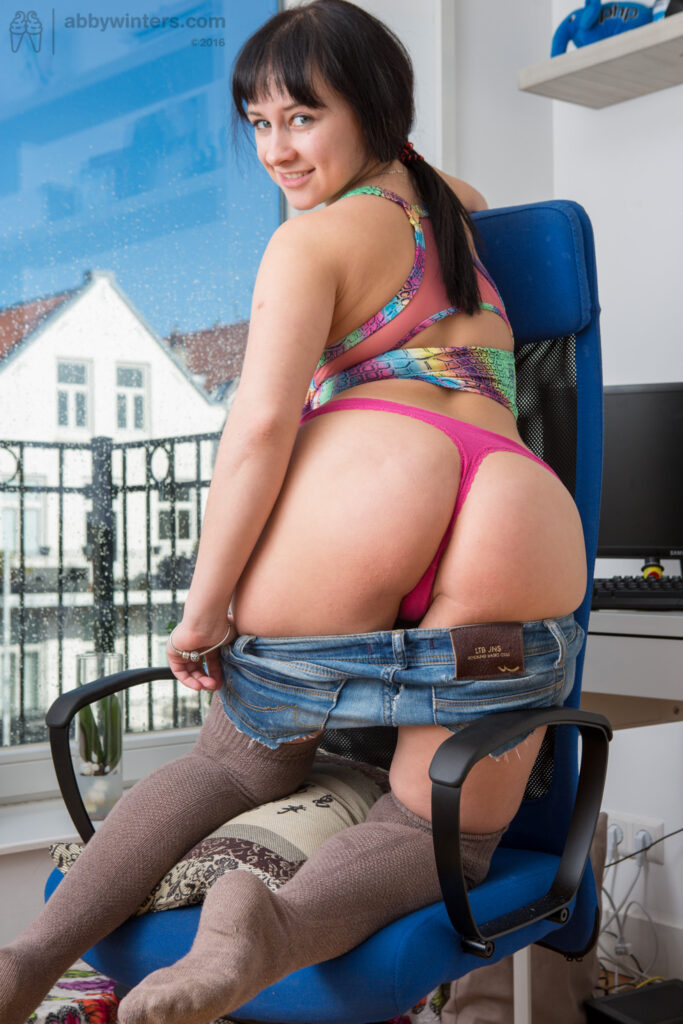
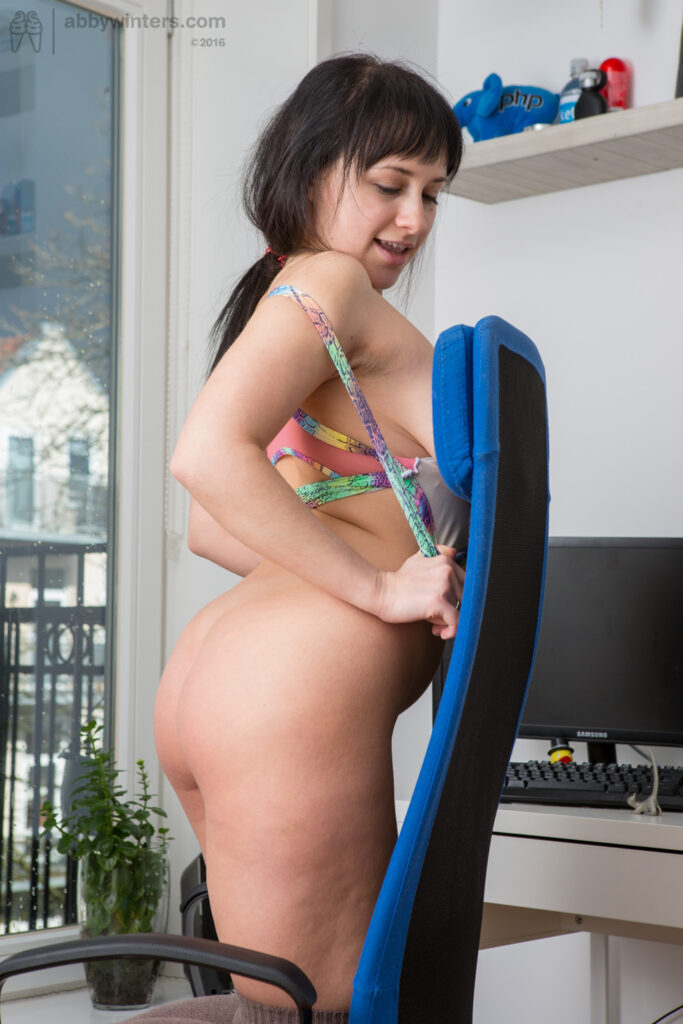
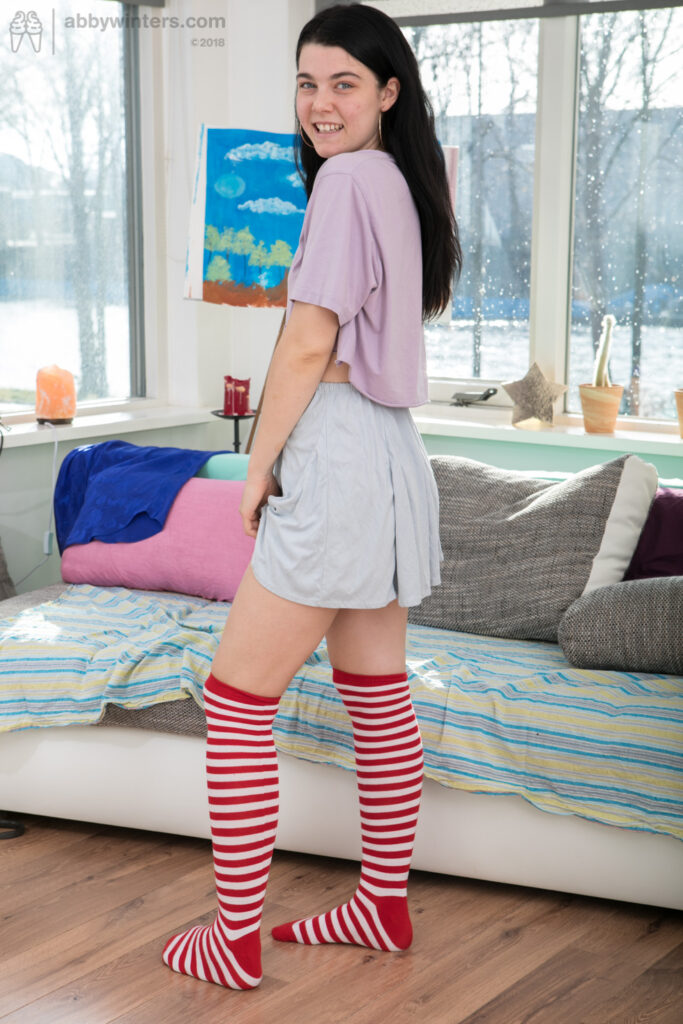
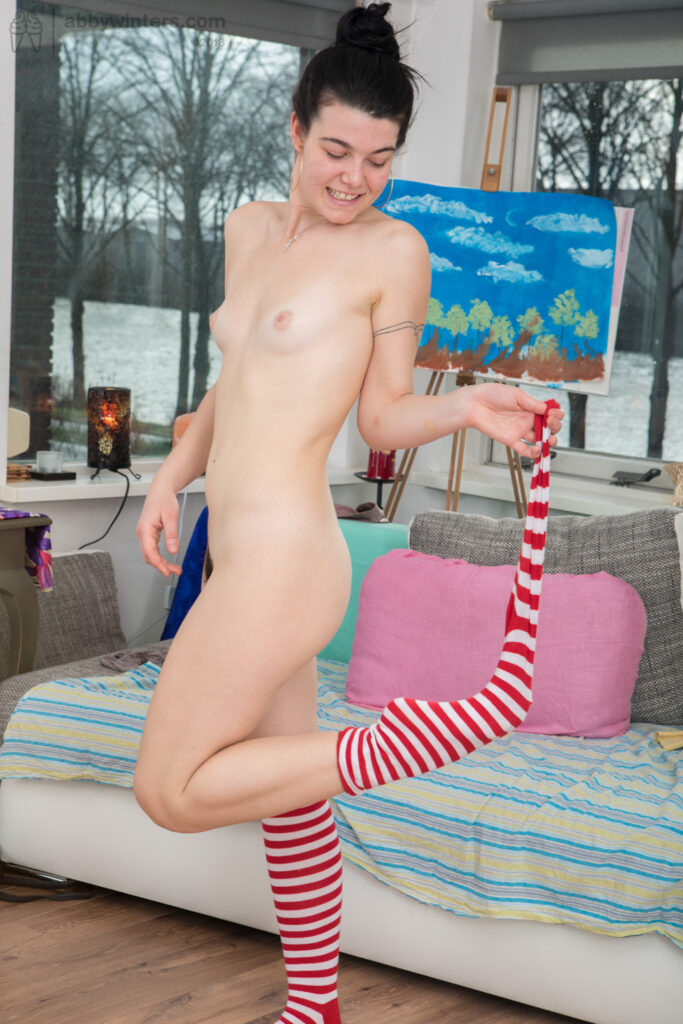
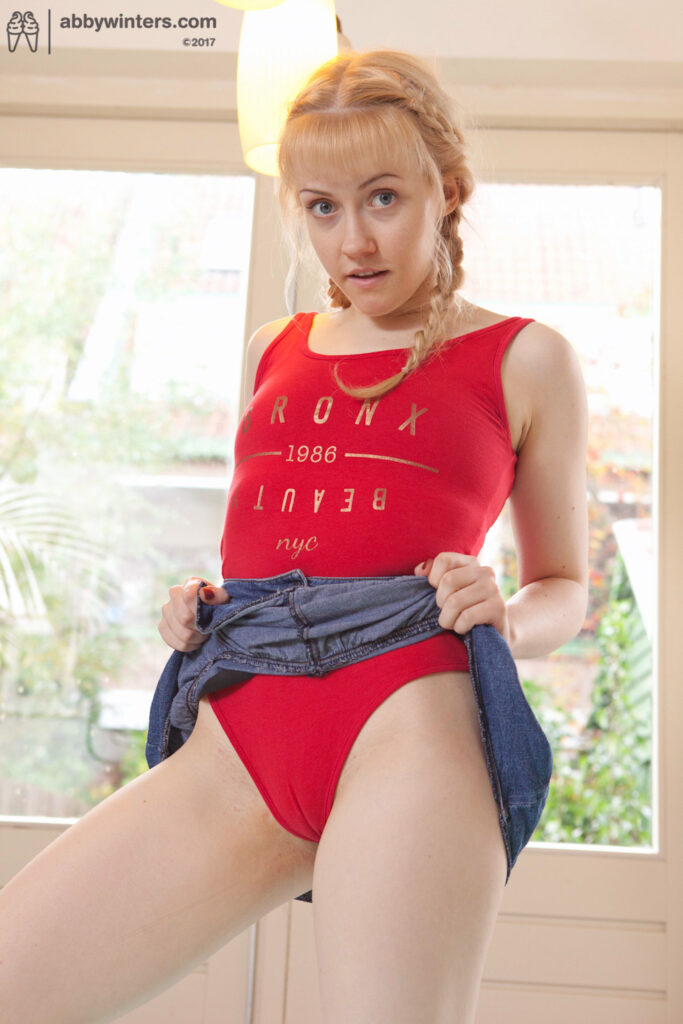
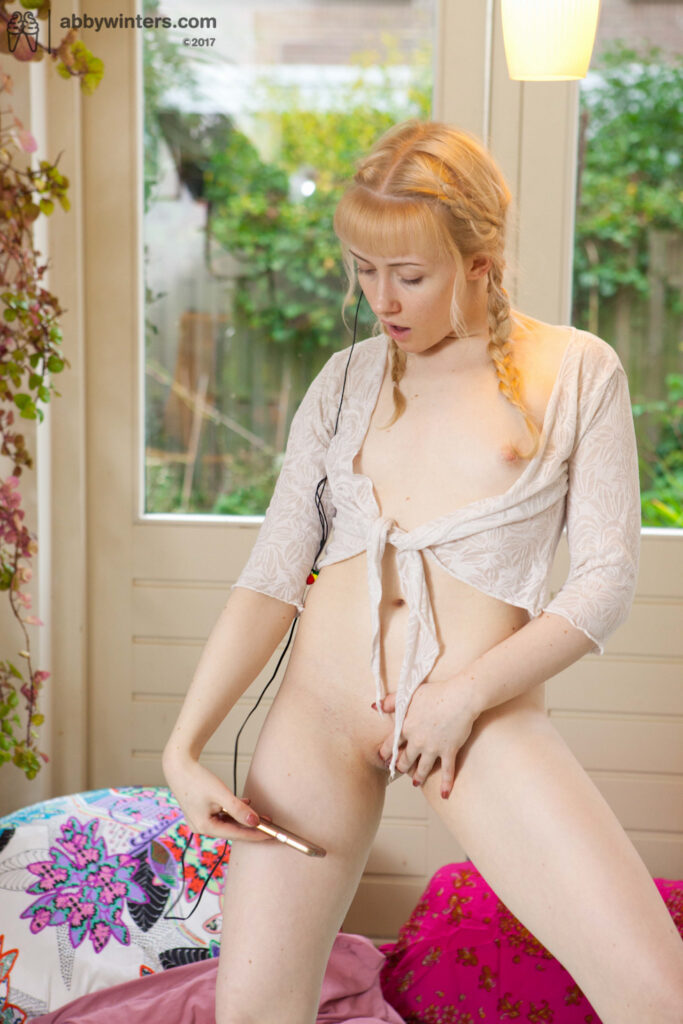
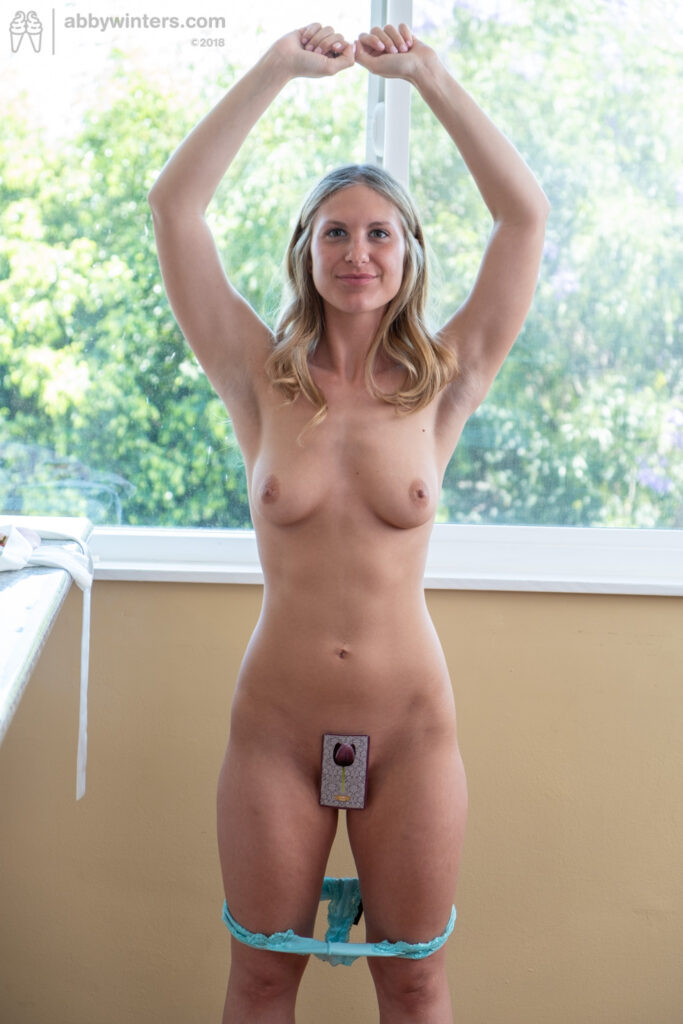
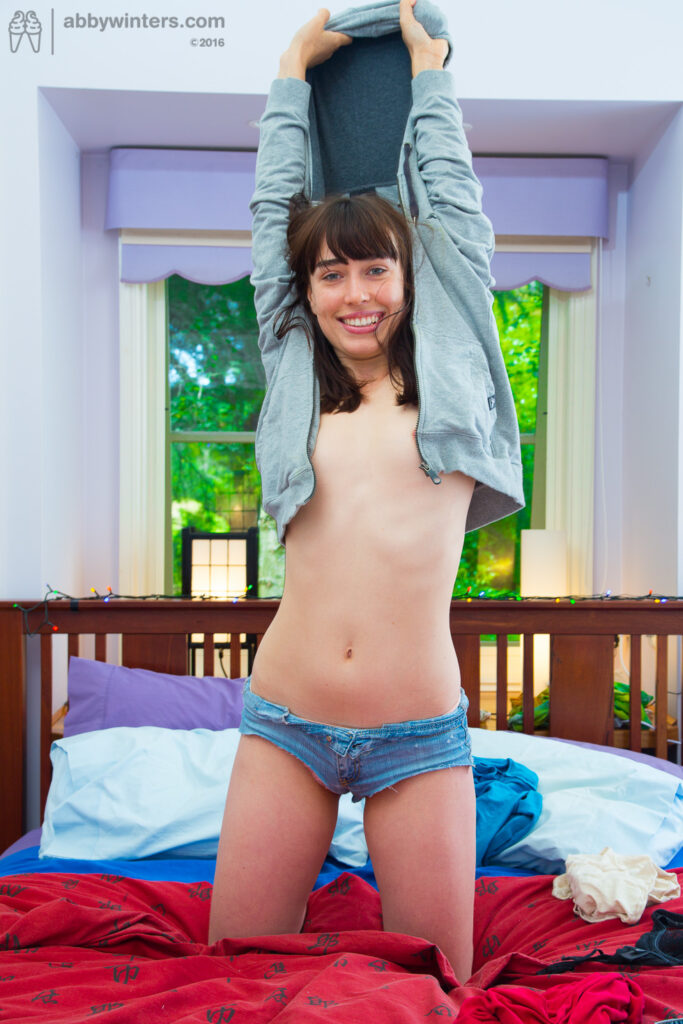
At abbywinters.com a lot of emphasis is placed on the importance of shooting in real homes not studios and one of the advantages of real homes is that they often come with real views’, out of the real windows!
Exposing so that the details of those real views are just as clear as the details of the model herself is a great tool to make shoots look professional while also emphasising the paradigm.
Advantages of exposing for the view out the window?
Vivid skies, green plants and trees in the window are a great way to bring nature inside to join models. Models-in-nature is part of the paradigm.
Having colour in the window behind the model helps to add life and texture and should be considered part of the set dressing process.
Exposing for what’s outside the window adds depth to the image, by way of layers.
Showing the real world beyond the model through the window shows Customers that this is a real situation (reinforcing that part of the paradigm).
Visible neighbor’s windows behind the model, as she poses naked, adds some risk – more exciting! It also makes models more real to customers – What if they looked out of their real windows – might they see a naked abbywinters.com model? It feeds the fantasy we work to build.
Showing the view from the window places the model in context. Does she live in an urban inner city environment, is she in the student district, the art district, out in the suburbs?
Who should attempt this?
This is a more-advanced lighting technique. SPs must have mastered the basics first. From a technical stand point it is fine for outside backgrounds to be totally blown out so long as:
- Model’s skin is correctly exposed
- Model’s skin shows texture and form – the image is not flatly lit
- There are no hard shadows
While bright blue skies look appealing, dark stormy clouds can add drama and interest. Exposing for outdoor skies is not limited to SPs lucky enough to live close to the equator.
How to expose outside and inside correctly
Outside is continuously lit by the sun. The model is lit inside momentarily with flash.
With two differnt “types” of lighting sources, we can use camera settings to control the exposore of the outside and inside light independantly from each other – the aperture will control the exposure of the flash, and the shutter speed will control the exposure of the outside area. To set this up, expose the model correctly first, then the outside areas second;
- Set up the flash equipment, to cause a large light source, off-axis from the model
- Set the camera shutter speed to 1/160th, the aperture to f8, ISO to 400 or so
- Take a test image, adjust the flash to light the model nicely, adjust the aperture to expose the model correctly (adjusting the flash power and aperture as necessary)
- Adjust the shutter speed to set the exposure of the outside area. This depends if it’s cloudy or sunny outside, and what can actually be seen. This can be as slow as 1/15th of a second, or as fast as 1/160th of a second (faster than that will cause problem with flash synch, and will result in a large black band on the image)
Setting a shutter speed of 1/20th or 1/160th or anywhere in between should not affect the exposure of the model (if it does, the model is not entirely lit by flash, and this process may not work as expected). Test this by capturing an image of the model with the flash disabled – she should appear almost as a silhouette.
This should result in perfectly exposed outside views behind perfectly exposed models – bringing the outside world and colours inside!
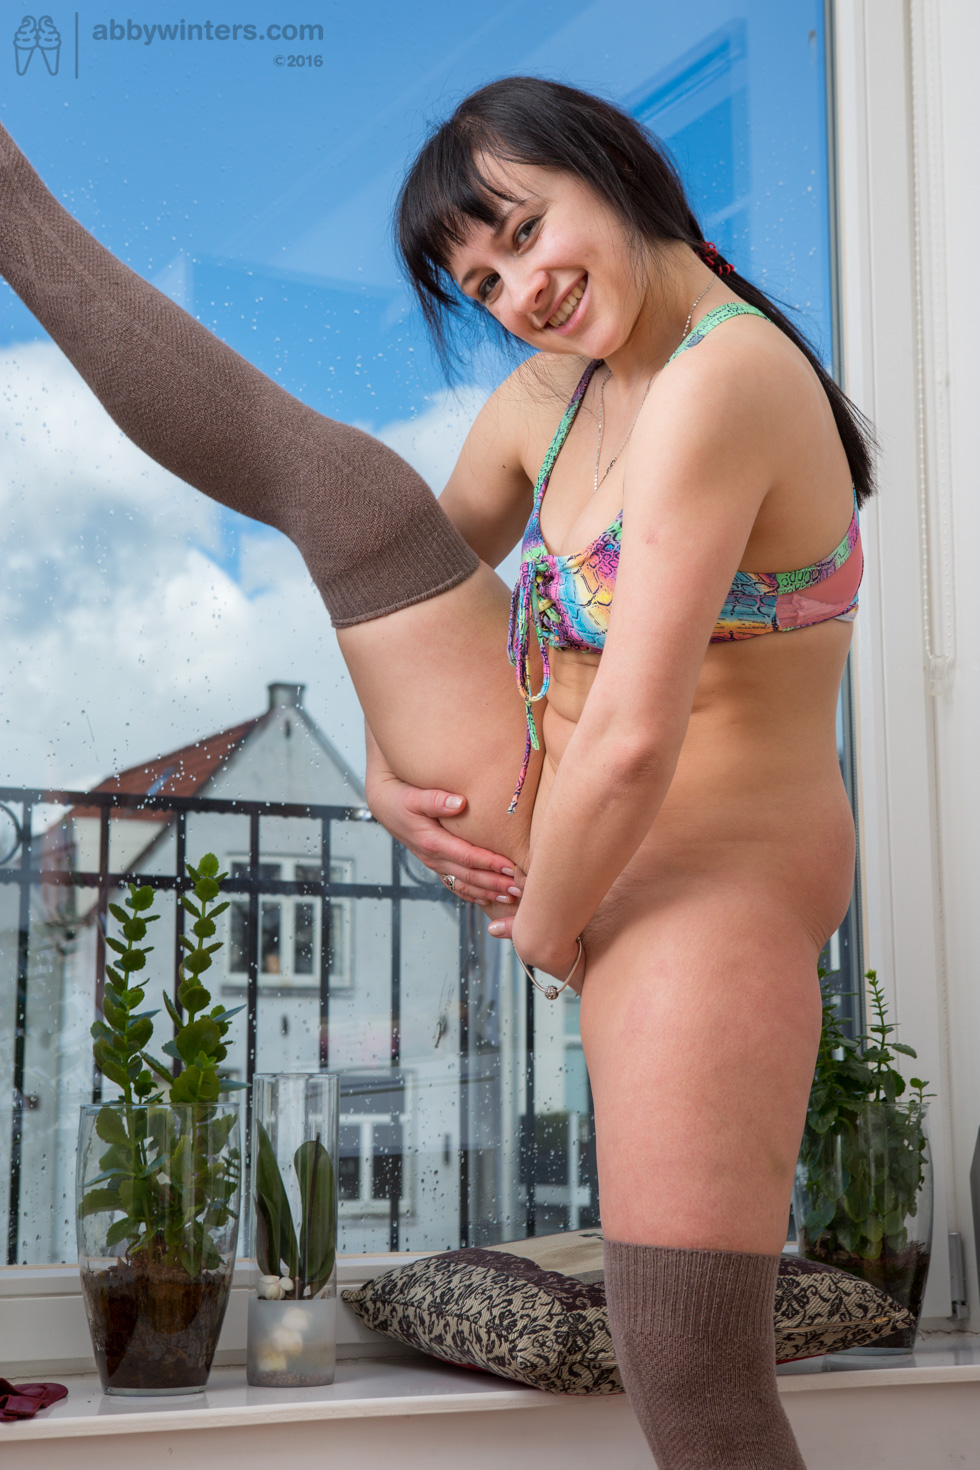
Spot the difference
First example
Second example
Third example
Fourth example

