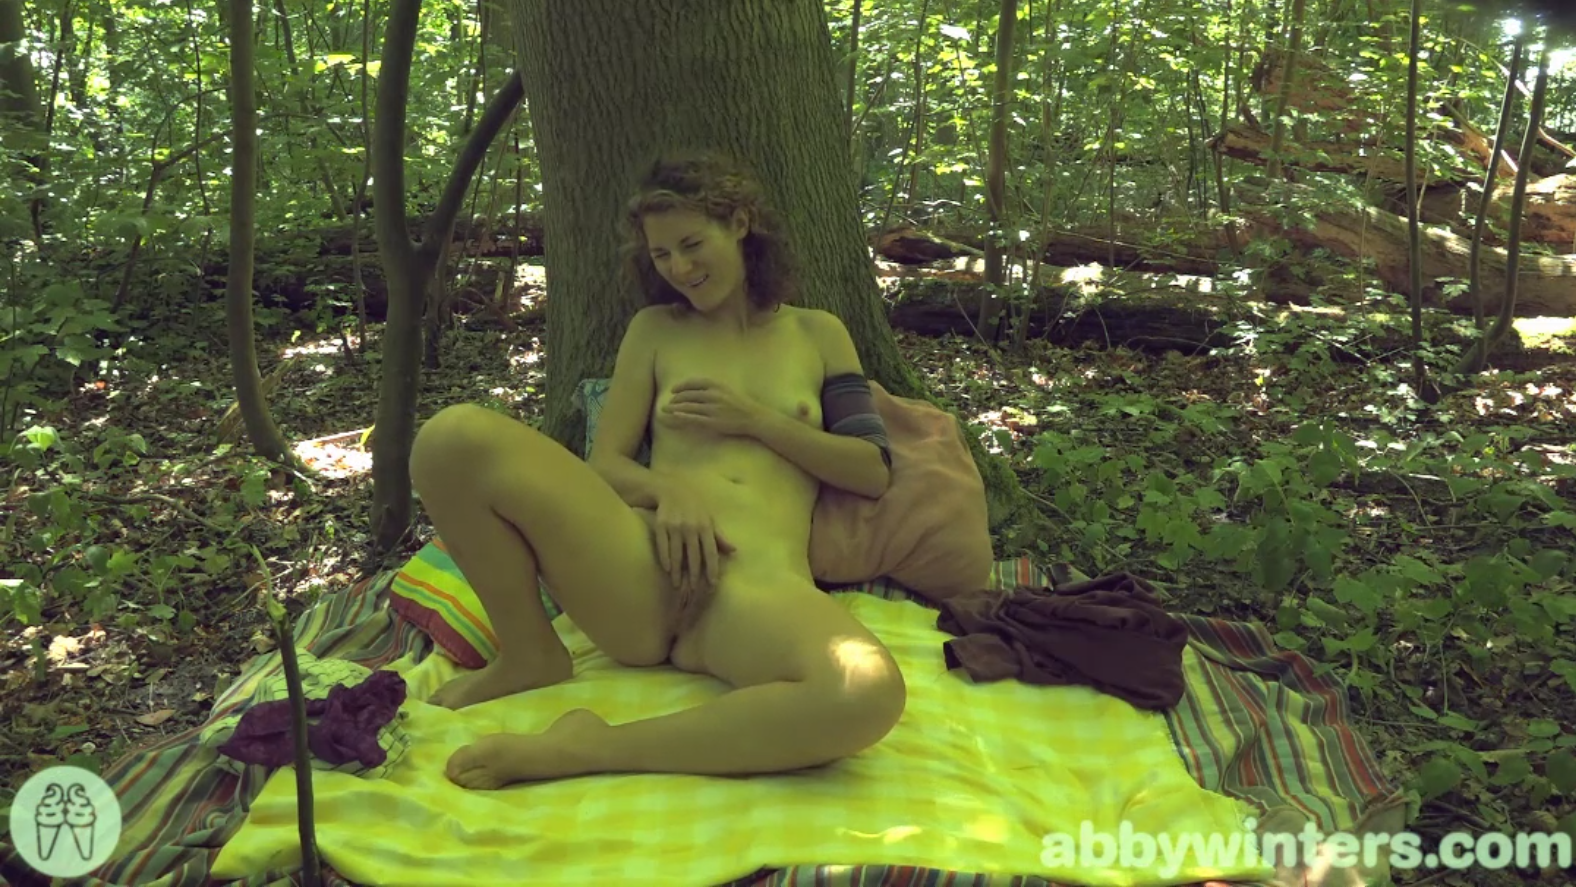
Why is the model green?

Making shoots outside is encouraged. Natural settings are a key part of the abbywinters.com paradigm and for SPs, outdoor locations come with a few advantages such as cost (often free) and in warm weather, it is a blessing to leave hot video lights behind! Whenever shooting outdoors is possible, it should be explored!
However Outdoor shooting comes with it’s own technical considerations, and managing White Balance is one (see the full set of shooting outside considerations).
White Balance risks when shooting Outdoors
In order to keep the model out of direct sunlight (and the eyes of the public), shooting under the cover of trees can be an excellent choice. However, the greenery offering shade and privacy also has a green cast, essentially acting like a big filter over the white light of the sun. This results in green skin – not good!

A knee-jerk reaction is to fix this with a white balance adjustment (while traditionally a blue-orange adjustment, white balance on modern digital cameras also works on the green-purple axis), but the issue here is not the colour temperature, but the actual colour of the light source. A White Balance adjustment will make it look ok on an LCD screen but in fact cut out a huge amount of the reds and purples in the image, making skin look not-green-but-unnatural in the final edit.
The solution
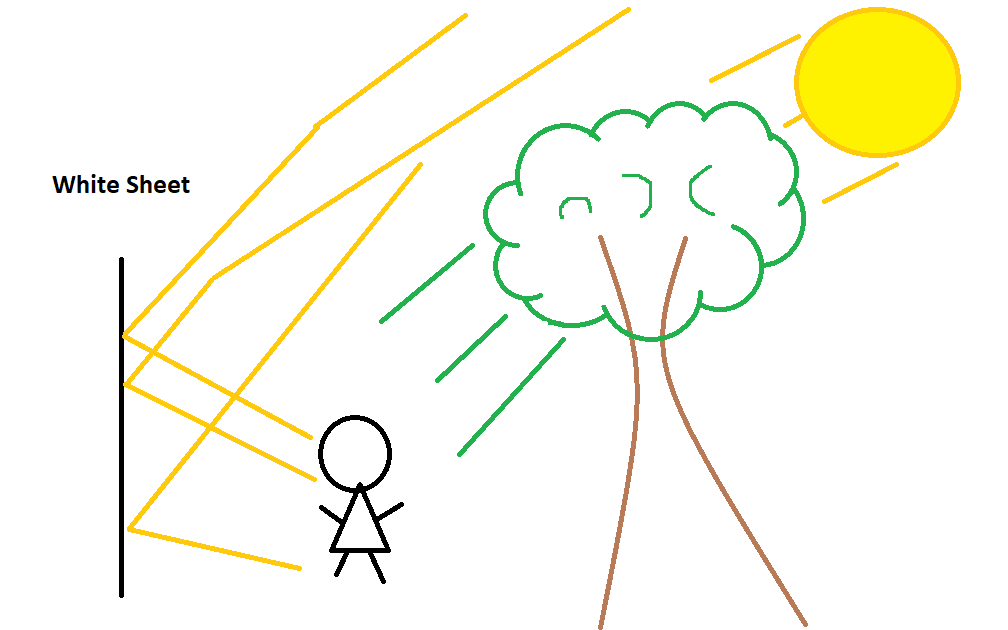
Rather than using camera settings, a large source of ‘clean’ white light needs to be sourced and directed at the model. This may not fully resolve the issue but it will reduce it enough to meet our technical standards.
The easiest way to do this is with a large white sheets, but a large reflector would be just as effective. The white sheet is placed to the side of frame, aligned so that light direct from the sun (not through tree cover) is bouncing off the sheet, on to the model. Look for large splotches of light between tree shadows when positioning the white surface.
There will still be some green fill light from the off-side, but by angling the model towards the true-white source as the main light, the green fill will not negatively impact White Balance, it will look natural for the setting.

