Working with gear
The white balance of a camera affects how it renders colours in the recorded media. We always aim to represent the skin tones of models in the most accurate and correct way. The best way to do this is to set the white balance accurately, to match the source of dominant lighting in the scene.
For multi-camera shoots, it’s essential that both cameras white balance match each other exactly (as when customers see the edit, there will be frequent cuts between the cameras and differences between the cameras will be distracting).
It is never acceptable to use a “one push” White Balance technique when shooting with multiple cameras, because that is subjective based on what the camera sees at the moment the button is pushed. Even if care is taken to point both cameras at a grey card, the angles may affect the reading, and the software in the camera that makes this calculation is proven to be easily confused.
It is never appropriate to use Auto white balance, as the colour balance in the scene will change often, and it’s unlikely the two cameras will ever be the same.
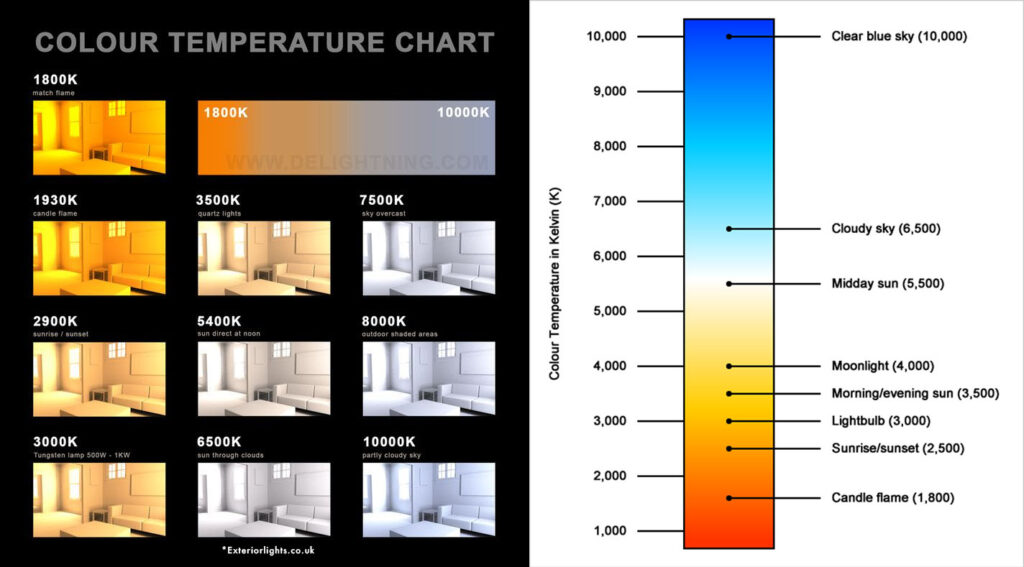
The correct way to white balance two video cameras
There are two options to set white balance correctly:
- Set a specific kelvin value, or
- Set a lighting source type
Set a specific Kelvin value
Kelvin is the measurement scale for temperature (like Celsius or Fahrenheit), measured from absolute zero. Neutral bodies at a specific temperatures emit a known certain colour of light, so this scale is universal and reliable. Lighting and camera manufacturers reference the same scale, so they are sure to match. For example;
Philips manufactures their HMI lamps to have a colour temperature of 5600K. If a scene is lit only with HMI lamps, and the camera has its White Balance set to 5600K, the colours will be rendered correctly.
Setting two cameras to a white balance point of 5600K will ensure the white balance matches between the cameras.
Setting the Kelvin is accurate – it can be adjusted in 100-degree increments from 2,400 to 10,000 – so there is a lot of fine-adjustment available. We strongly recommend using this technique.
When using this method;
- Finalise lighting the scene exactly how it will be shot
- Place a model in the scene, showing plenty of skin (eg, T-shirt and shorts)
- If there are two models in the scene with noticeably different skin tones, have both models in the scene for this
- Use one video camera, set the White Balance by setting a Kelvin value
- Start at the nominal value for the lighting source (for example, HMI light is 5600K)
- Point the camera at the model
- Assess the colour of the model’s skin in the viewfinder
- Make fine adjustments up or down until the skin looks correct
- This should take under 20 seconds
- Take note of the Kelvin set
- Set the other camera to the same White Balance
- That is, to set white balance in Kelvin
- To set the Kelvin value to the same as the first camera
If the lighting source changes significantly in the scene, this process needs to be repeated and both cameras adjusted.
Set a lighting source type
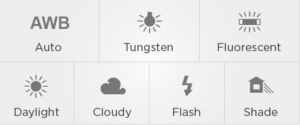
Cameras come with “presets” for types of lighting that are often used when capturing media. For example;
These are “shortcuts” for setting White Balance and can be useful. But, they are less accurate (for example, using the “fluorescent” setting might work for some tubes, but not for others – and be totally wrong for tube that look like they are flourescent but are actually LED).
These shortcuts simply reference the Kelvin scale in a “friendly” language – setting “Tungsten” is the same as setting the Kelvin to 3000K.
While using this technique will ensure both cameras are matched for white balance (assuming both cameras are set to the same preset!), we do not recommend using this approach, as it does not take into account the lighting modifiers being used – for example;
It’s rare we’d point a HMI directly at the models for a shoot!
Instead, we’d bounce the HMI off a white sheet or wall or ceiling, or shoot through a diffusion sail / lastolight.
Additionally, often part of the scene is lit by some daylight as well as the HMI.
In this scenario, setting the white balance to the “Daylight” preset would likely be incorrect, as those modifications we make to the light also change the colour temperature of the light, so the preset will not show the models skin correctly (though it may be close).
We recommended that a”roadworthy”-style (MOT test, DOT test, smog test – a vehicle inspection) check of piece of camera equipment is done every 12 months – to make sure there are no small issues waiting to become big issues mid-shoot!
It is also important to do smaller checks every single time a camera is picked up to be used.
- Is the DSLR sensor clean?
- Is the windsock attached (if shooting outside or in a breeze)?
- Does the audio sound clear (wear headphones)?
Is the DSLR sensor clean?
Customers come to abbywinters.com to see naked models with nothing in the way. Customers get frustrated when this is not the case.
Dust, dirt, fingerprints or similar on the sensor of the camera not only looks unprofessional (low quality) but also masks part of the otherwise nude model from view. 😱
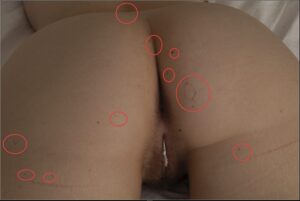
The solution is simple;
- Change lenses hygienically
- Don’t change lenses in less-dusty environments (think, kitchen instead of on the floor in a bedroom)
- Hold the DSLR with the lens opening facing down when changing lenses (so falling dust cannot enter the mirror compartment)
- Test for dust on the sensor regularly
- Set up camera to shoot at f22 with a correct exposure (higher ISO is fine for this test), with a shutter speed of 1/100th or faster. This puts dirt on the sensor more in-focus, and reduces the chance of camera-shake affecting the image.
- Capture a single colour – a wall is ideal – correctly exposed
- Check the image on a computer (not just the back of the camera) – look for smears, grey spots, hairs, etc. There should be none
- Clean the sensor
- Remove the lens, lock the mirror up
- A few puffs from a blow bulb should be enough to dislodge most issues – be sure not to touch the sensor with the tip of the blow bulb
- Repeat the test for sensor cleanliness, and review the image
- Consider a professional camera cleaner if dirt cannot be dislodged
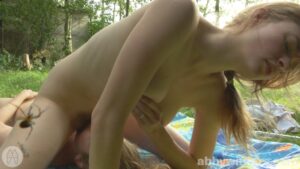
Is the windsock attached when shooting outside or in a breeze?
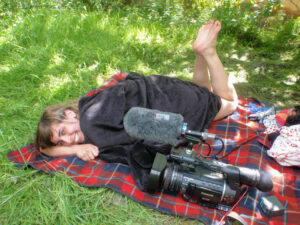
Even the lightest breeze will be auditable on the sensitive shotgun mics required for producing abbywinters.com content. It does not need to be blowing a gale for these to be required! When working outdoors always pause and check the windsock has been attached before shooting begins.
Does the audio sound clear? (wear headphones!)
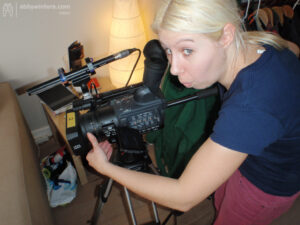
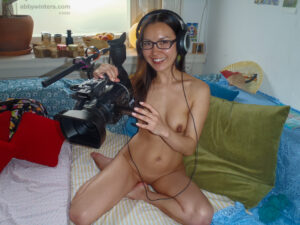
Anyone capturing media for abbywinters.com with a video camera (Shoot Producer, Second Camera Operator, Model etc) is required to wear headphones at all times. The headphones hear more precisely what the camera is (or isn’t) capturing. Do not take the risk, put them on!
Utilising extensive natural light always preferred for abbywinters.com shoots. However, in winter months, natural light may not be available in suitable quantities fully illuminate the model and Setting across a full shoot day. In most shoot situations, a mixture of natural light mixed artificial light is required.
When that’s not possible, we aim to use high-key lighting and emulate natural light from large windows.
Natural light is particularly good for adding highlights to a model but care must be taken to avoid contact with direct sunlight in most circumstances – such high contrast between light levels can not be exposed for correctly, and results in missing details – and ultimately frustrated customers!
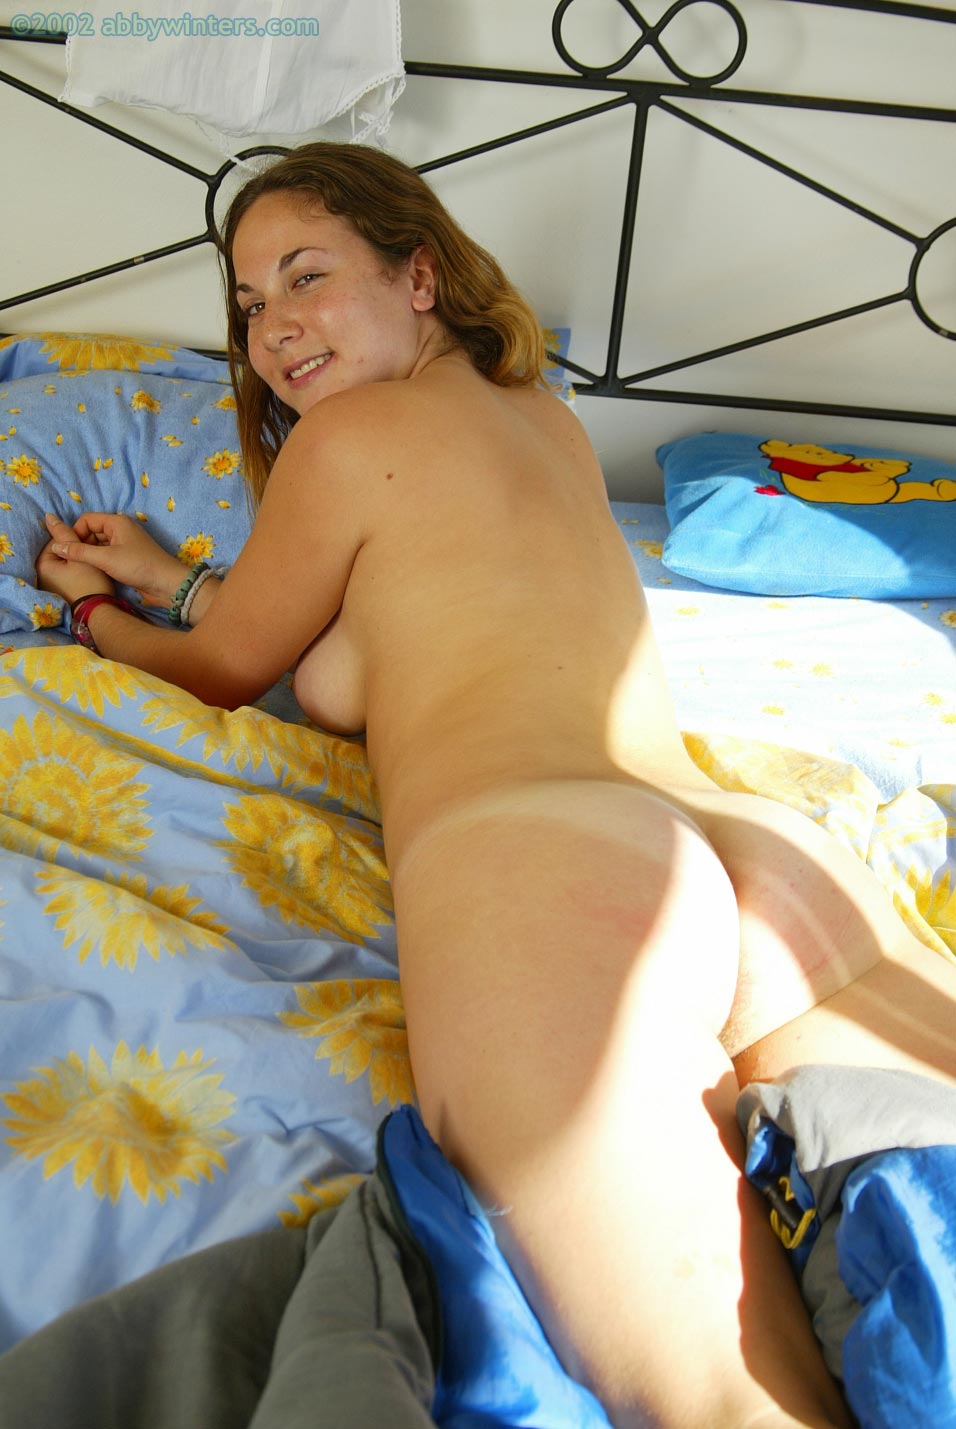
There are two approaches to mixing natural light with artificial light:
- Using an artificial source to boost the natural light
- Using an artificial source in parallel with the natural light, with the artificial light filling in the areas that the natural light cannot
Using artificial light to boost natural light
On paper very simple:
- Step 1 Find the natural light
- Step 2 Place an artificial light so it’s beam follows the same direction as the natural light – boosting what is already there.
The potential issue is diffusion. The supporting artificial light needs to be modified to prevent it from being a direct and specular source (as that will lead to hard dark shadows and will not look natural, will not be flattering, and is off-paradigm).
Using artificial light to fill in the gaps
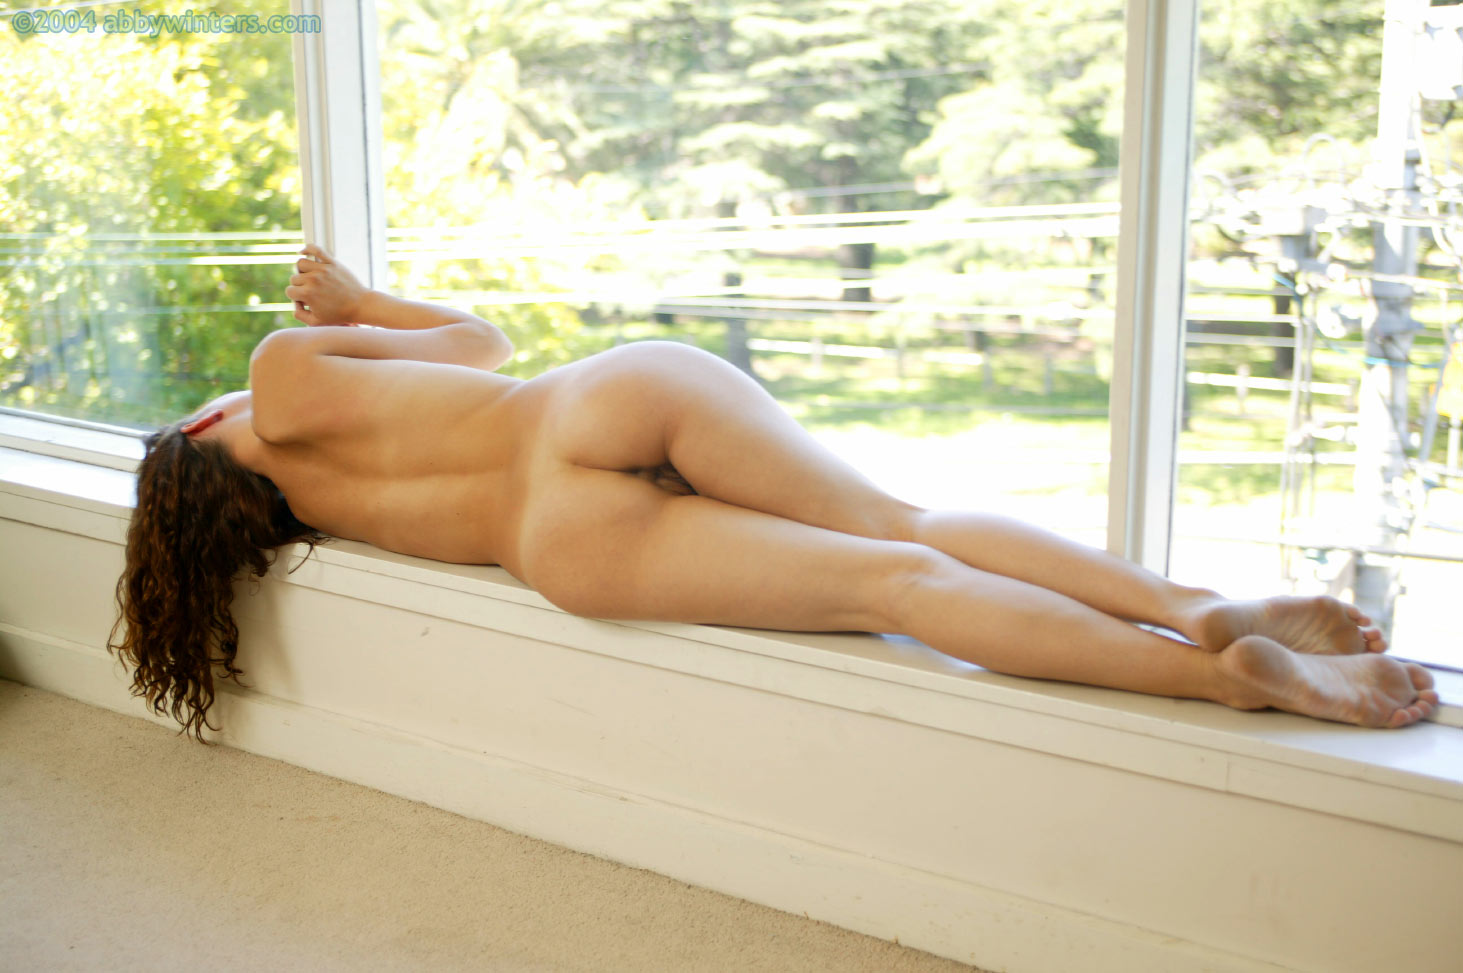
Ana’s Solo shoot (made in 2004) came at a pivotal point in the abbywinters.com journey. It was produced by the Creative Director, long before any assessment areas have been devised, really before what abbywinters.com is all about had been fully defined. At the time, Garion was pushing himself with lighting and trying to master mixing two sources – flash and natural light. This shoot was an instrumental turning point, the first time he mixed sources to (we think) excellent effect. It was around this time that the value of producing light that appeared natural (regardless of the reality) became apparent within the abbywinters.com brand.
Don’t show the source
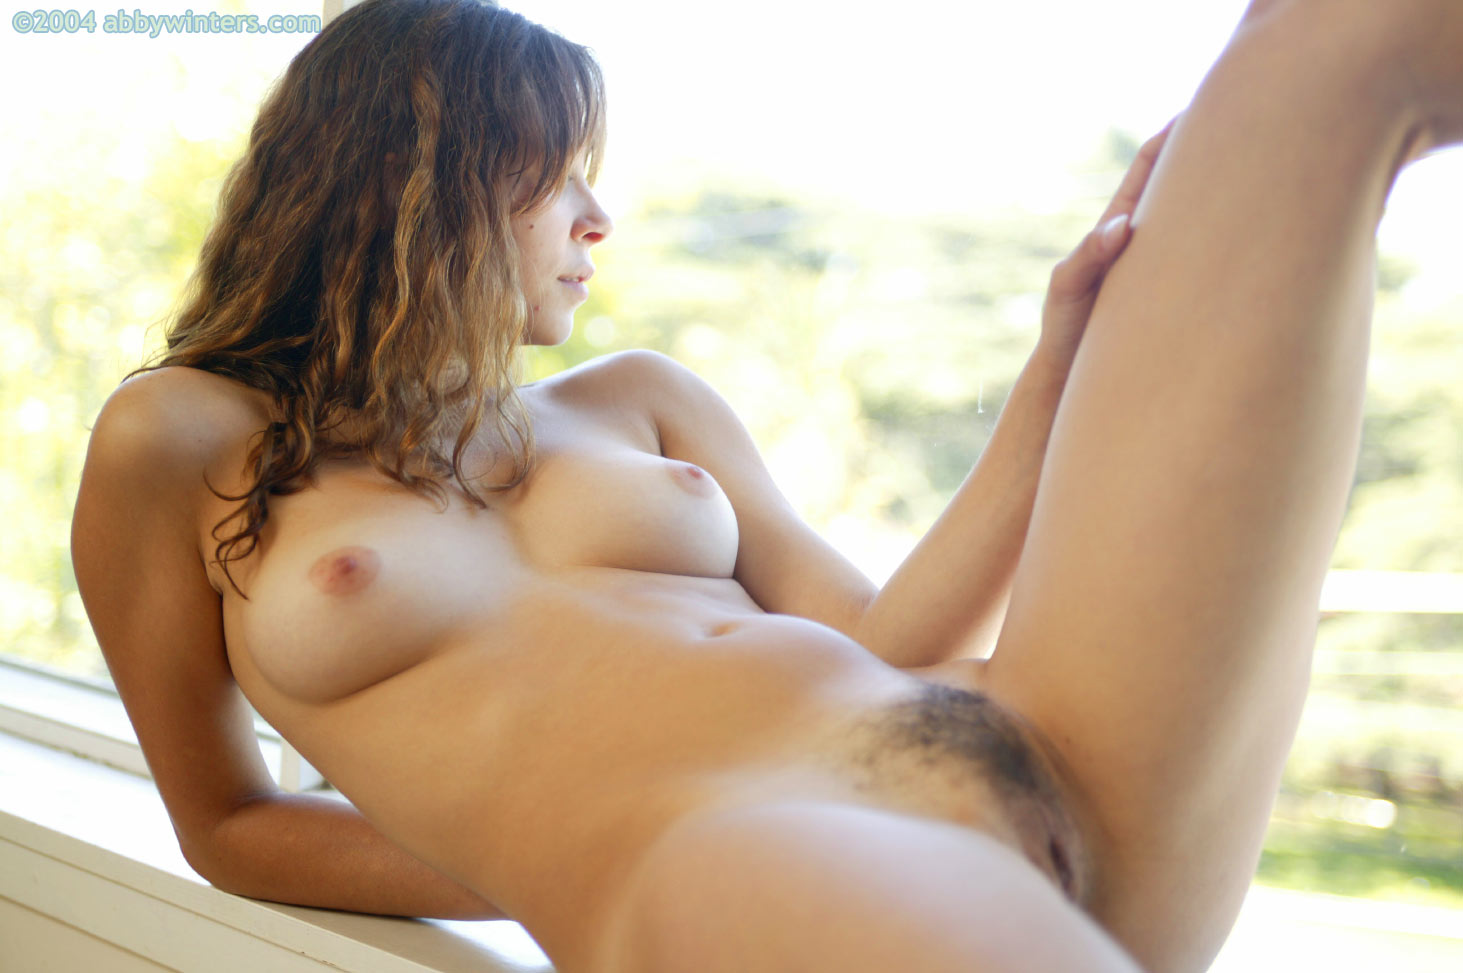
While overall the lighting in Ana Solo is excellent, some of the framing is problematic, with washed out backgrounds detracting from strong lighting on the model. An epiphany saved for another day, Garion soon came to the conclusion that similar to how it is detrimental to show the light stands and flashes in a shoot, so to is it bad to show the natural light source.
Kenji’s excellent outdoor Solo shoot (captured by SP Misha) holds lots of great examples of how natural light can be used to strong effect, being most successful when the light source is omitted from the frame.
If the sky was able to be exposed correctly (either blue, or textured clouds), including the sky is encouraged. When the sky has to be over-exposed (“blown out”), always frame it out.
Related topics
While the simple rule is to ‘not include the light source in frame’, there is value in showing bright skies and interesting views outside of the window during shoots, it is just not easy to do. FAQ – How can I expose images to include the view from the window? – documents how to approach this.
At abbywinters.com a lot of emphasis is placed on the importance of shooting in real homes not studios and one of the advantages of real homes is that they often come with real views’, out of the real windows!
Exposing so that the details of those real views are just as clear as the details of the model herself is a great tool to make shoots look professional while also emphasising the paradigm.
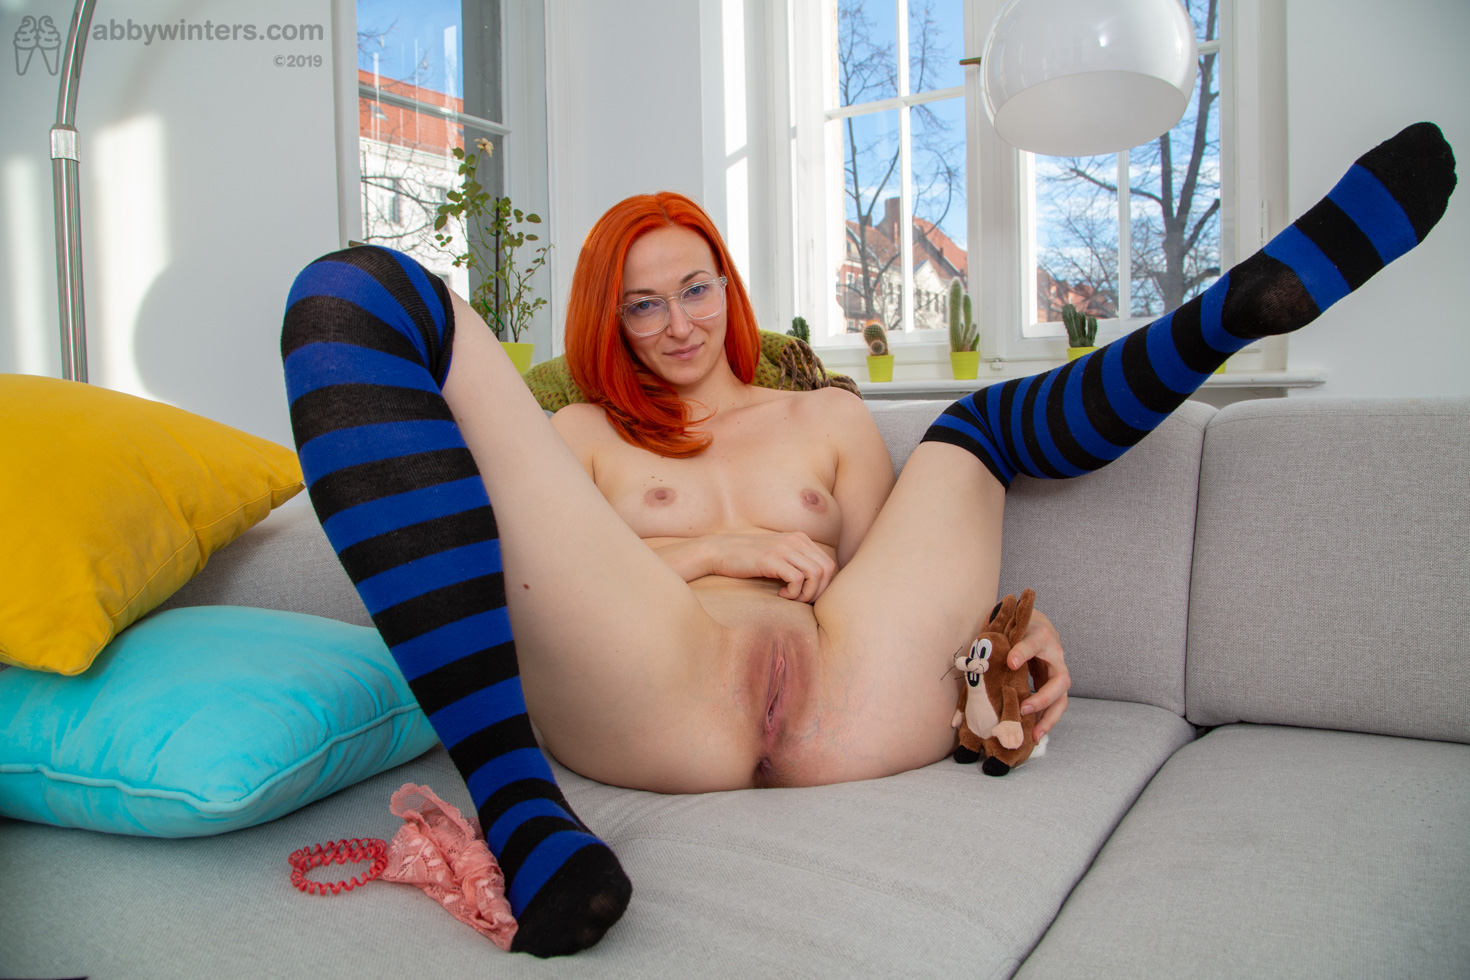
Advantages of exposing for the view out the window?
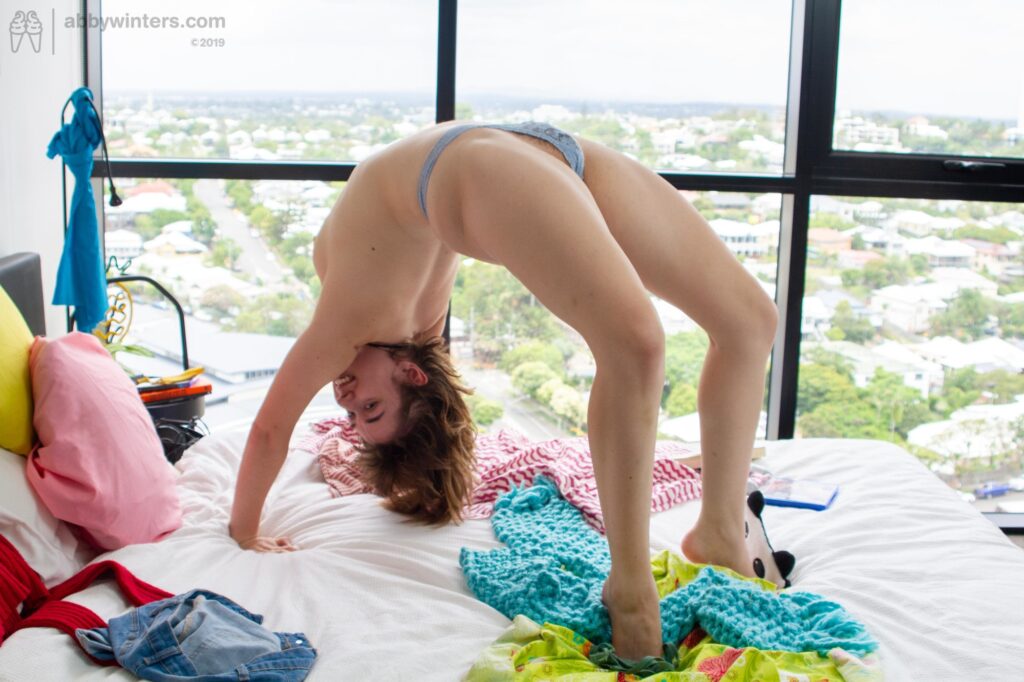
Vivid skies, green plants and trees in the window are a great way to bring nature inside to join models. Models-in-nature is part of the paradigm.
Having colour in the window behind the model helps to add life and texture and should be considered part of the set dressing process.
Exposing for what’s outside the window adds depth to the image, by way of layers.
Showing the real world beyond the model through the window shows Customers that this is a real situation (reinforcing that part of the paradigm).
Visible neighbor’s windows behind the model, as she poses naked, adds some risk – more exciting! It also makes models more real to customers – What if they looked out of their real windows – might they see a naked abbywinters.com model? It feeds the fantasy we work to build.
Showing the view from the window places the model in context. Does she live in an urban inner city environment, is she in the student district, the art district, out in the suburbs?
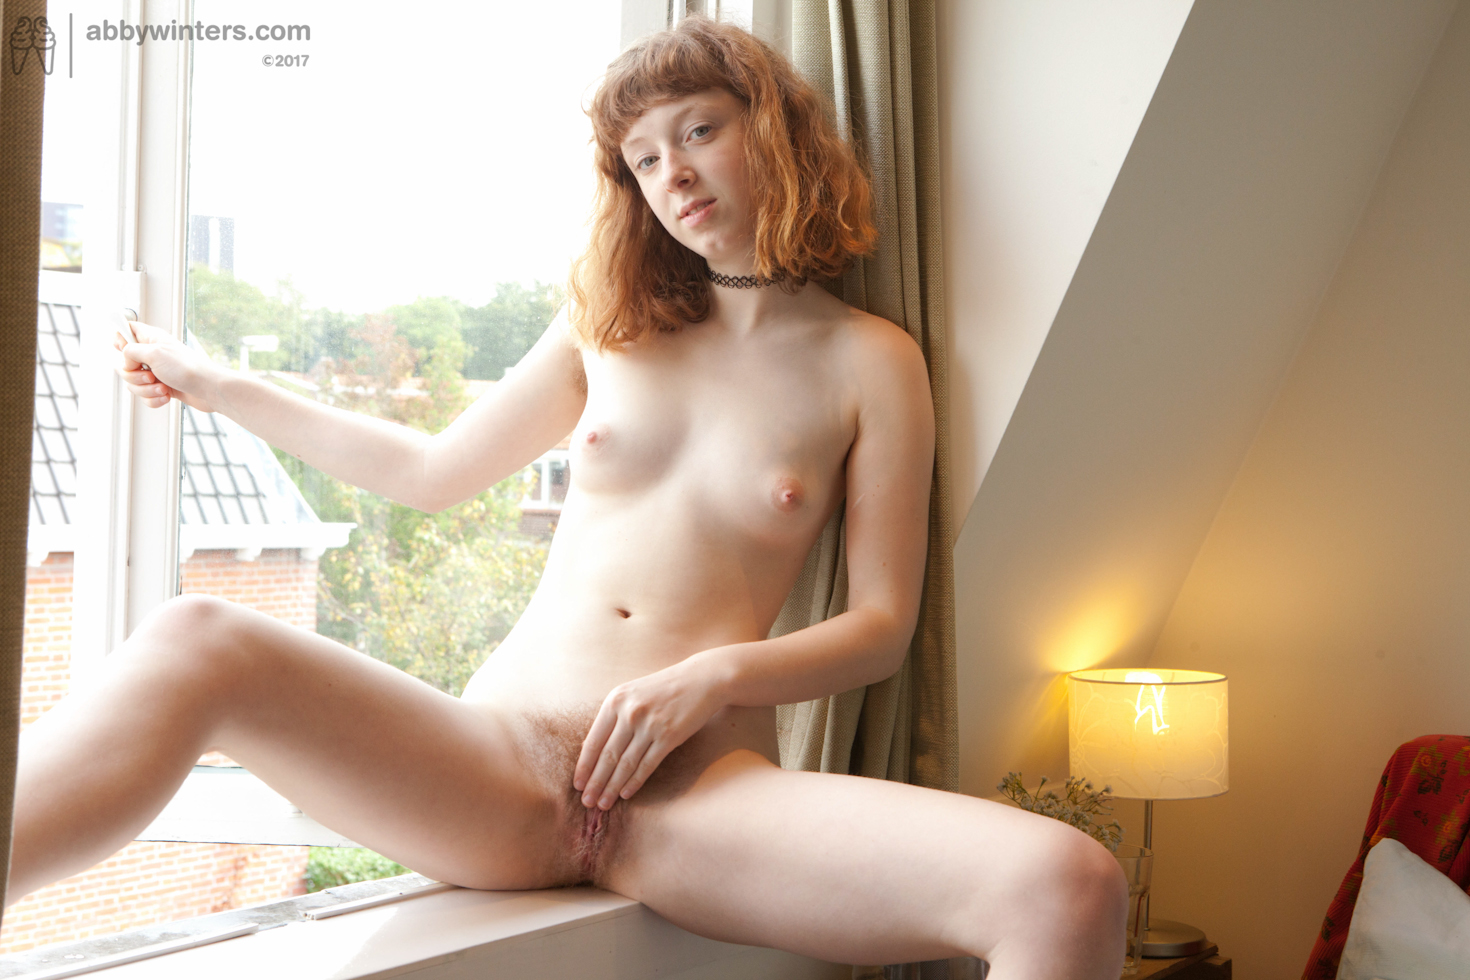
Who should attempt this?
This is a more-advanced lighting technique. SPs must have mastered the basics first. From a technical stand point it is fine for outside backgrounds to be totally blown out so long as:
- Model’s skin is correctly exposed
- Model’s skin shows texture and form – the image is not flatly lit
- There are no hard shadows
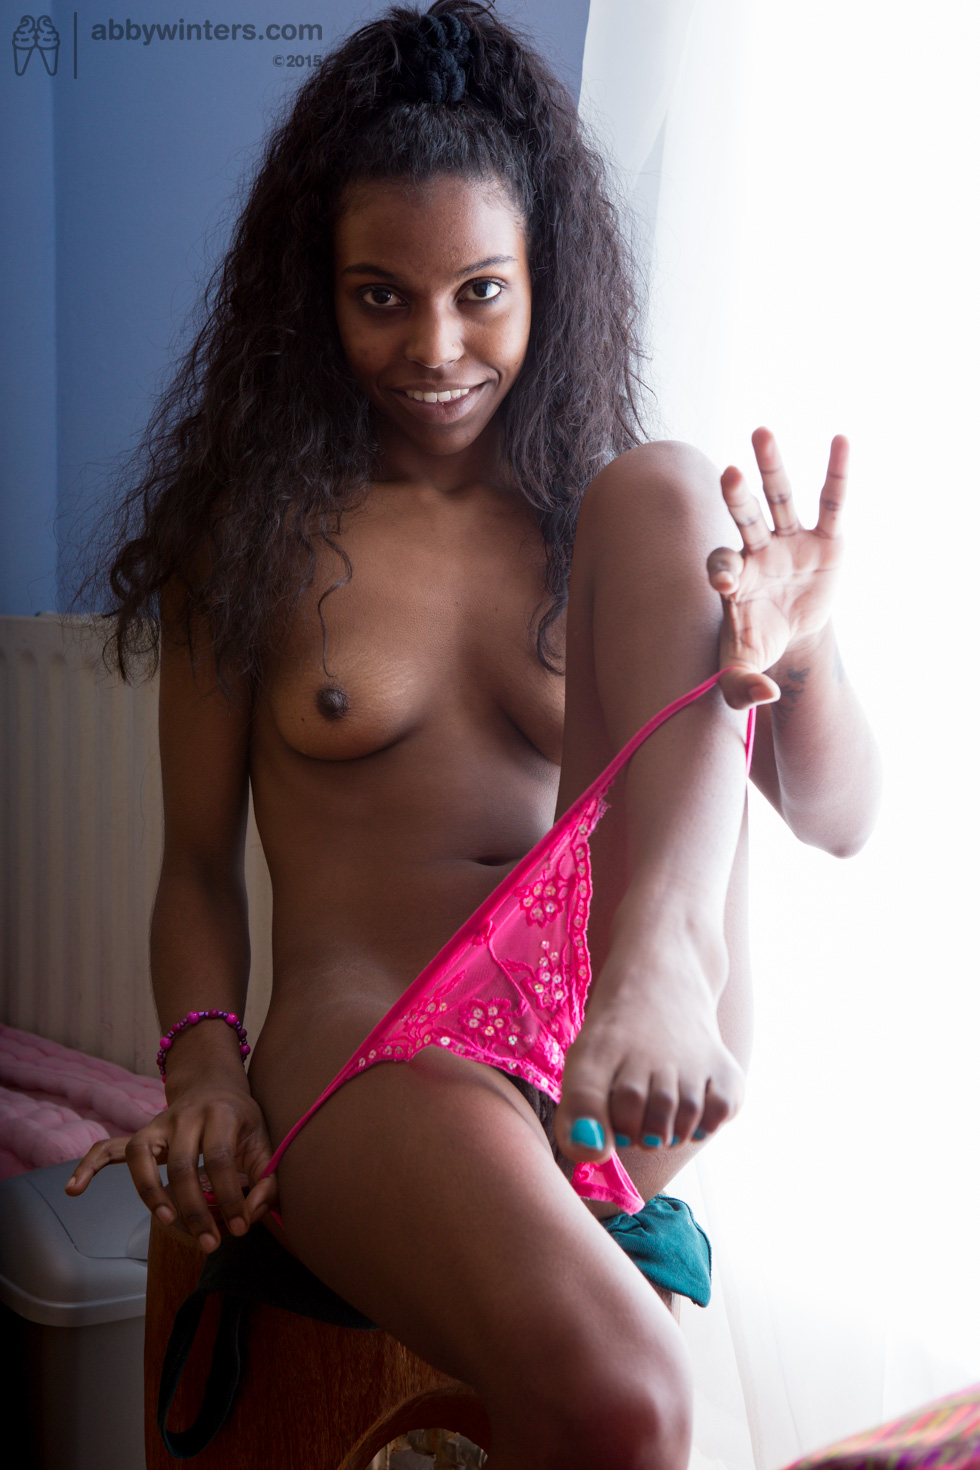
While bright blue skies look appealing, dark stormy clouds can add drama and interest. Exposing for outdoor skies is not limited to SPs lucky enough to live close to the equator.
How to expose outside and inside correctly
Outside is continuously lit by the sun. The model is lit inside momentarily with flash.
With two differnt “types” of lighting sources, we can use camera settings to control the exposore of the outside and inside light independantly from each other – the aperture will control the exposure of the flash, and the shutter speed will control the exposure of the outside area. To set this up, expose the model correctly first, then the outside areas second;
- Set up the flash equipment, to cause a large light source, off-axis from the model
- Set the camera shutter speed to 1/160th, the aperture to f8, ISO to 400 or so
- Take a test image, adjust the flash to light the model nicely, adjust the aperture to expose the model correctly (adjusting the flash power and aperture as necessary)
- Adjust the shutter speed to set the exposure of the outside area. This depends if it’s cloudy or sunny outside, and what can actually be seen. This can be as slow as 1/15th of a second, or as fast as 1/160th of a second (faster than that will cause problem with flash synch, and will result in a large black band on the image)
Setting a shutter speed of 1/20th or 1/160th or anywhere in between should not affect the exposure of the model (if it does, the model is not entirely lit by flash, and this process may not work as expected). Test this by capturing an image of the model with the flash disabled – she should appear almost as a silhouette.
This should result in perfectly exposed outside views behind perfectly exposed models – bringing the outside world and colours inside!
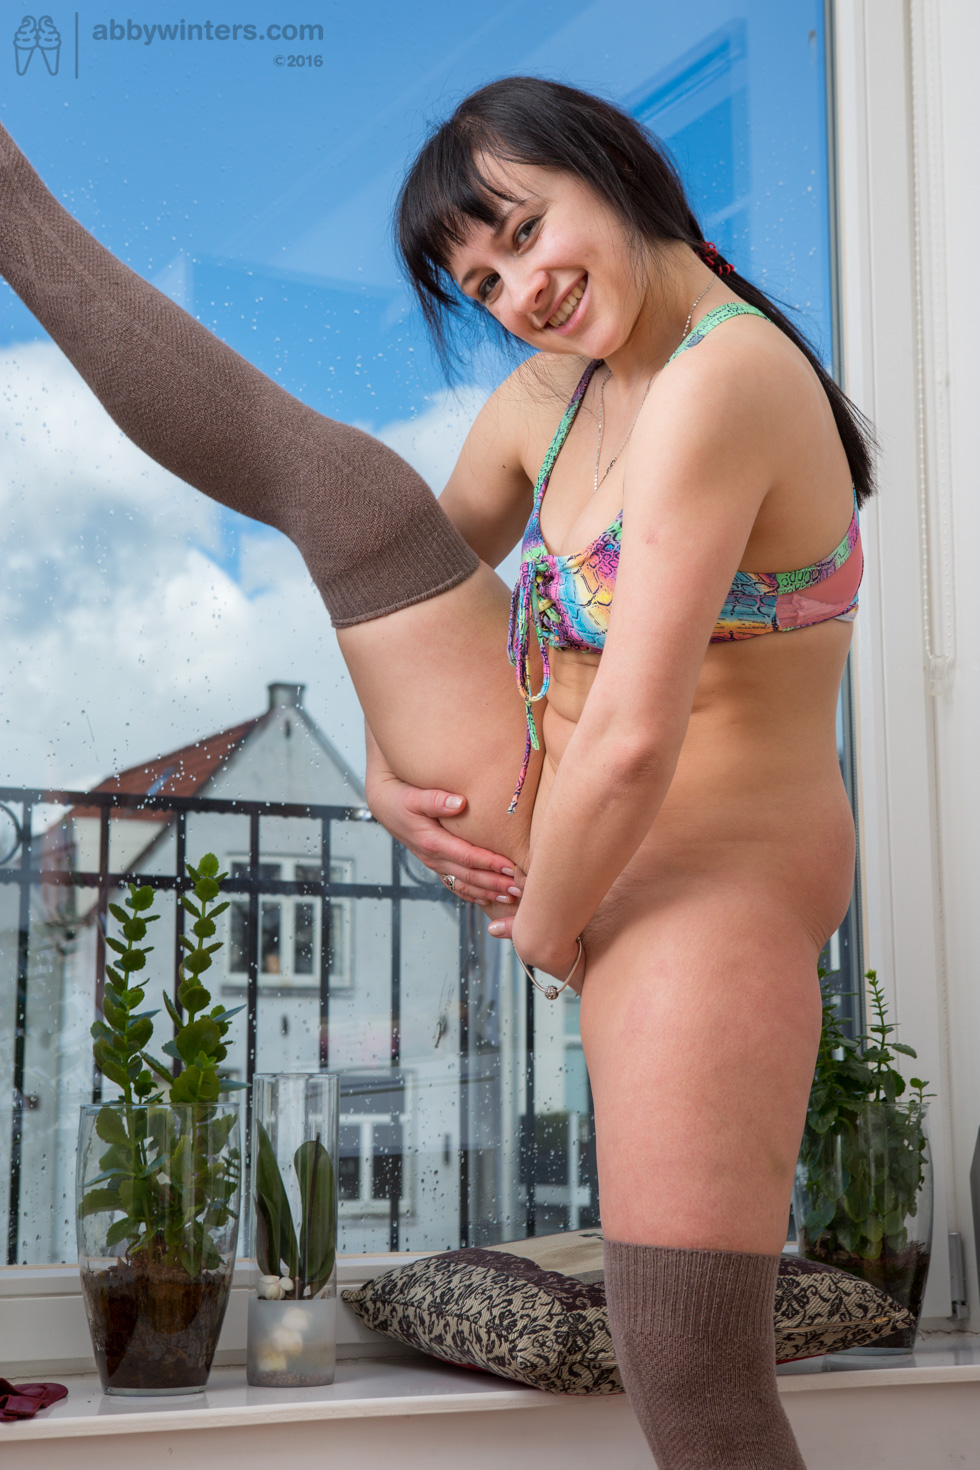
Spot the difference
First example
Second example
Third example
Fourth example
The CX900 and FDR-AX100E are very similar Sony video cameras, the only significant difference is that the CX900 only shoots HD (1080i) and the FDR-AX100E shoots 4k. Because the CX900 only captures HD and our requirement from Jan 2021 was to capture only in 4k, this page only deals with the FDR-AX100E. Ask your contact at AWBV for a fact sheet on CX900 camera settings.
Official product manuals
We encourage SPs to review the manuals for this equipment, as they often have useful features to make capturing media easier or higher quality.
- FDR-AX100E (and CX900) video camera
- XLR-K2M (XLR-A2M) audio adapter
- Sennheiser MKH-416 mic
Video camera setup
These settings help ensure media captured with the camera meets the company’s requirements.
- Update the software in the camera
- Compare the software version in the camera with the software version that can be downloaded
- Download and install the new camera software
- Reset all settings to default first (“initialisation”) – required
- Initialising the camera ensures we are working from a “clean slate” and only the settings we want have been made.
- [Menu] – [Setup] – [ General Settings] – [Initialize] – OK
- It takes about 45 seconds
- When prompted, change these settings to the Shoot Producer’s preference
- Set language to English (or as you wish)
- Set timezone to be as appropriate for where you are
- Set Summer time as appropriate to the current time of year
- Set date & time format to be M (English)-D-Y
- Set the date and time to be correct
- When prompted to download PC software, close the ad
- Make settings required by the company
- File format
- We need to record in 4k pixel dimensions
- [Menu] – [Image Quality/Size] – [File Format] – XAVC S 4K
- More info on p121 of online manual, “File format”
- Compression
- We require the least-compressed (highest quality) video recording
- [Menu] – [Image Quality/Size] – [REC Mode] – 60 Mbps
- More info on p118 of online manual, “rec mode”
- Frame rate
- 25p is appropriate for AW scenes
- [Menu] – [Image Quality/Size] – [Frame Rate] – 25p
- More info on p119 of online manual, “Frame rate”
- Exposure
- We always want manual exposure control
- [Menu] – [Camera/Mic] – [Camera Settings] – [Exposure] – Manual
- Steady Shot on
- Removes hand-held shakiness
- [Menu] – [Camera/Mic] – [Camera Settings] – [ SteadyShot] – Active
- Note, this is not the default setting, it needs to be adjusted
- File format
- Consider changing to our recommended settings
- Dial setting
- The dial should be used to control exposure (by the iris)
- [Menu] – [Camera/Mic] – [ Camera Settings] – [Dial Setting] – Exposure
- Zebras
- Show a highlight for areas over 100% exposure (blown out). Sometimes, windows or reflections might show zebras, but this is never preferred on model’s bodies. This can mean exposure needs to be adjusted, or contrast in the scene needs to be reduced.
- [Menu] – [Camera/Mic] – [ Shooting Assist] – [Zebra] – 90%
- Beep on record and pause
- It’s less annoying if the camera does not play a tune when starting and stopping recording…
- [Menu] – [Setup] – [ General Settings] – [Beep] – Off
- Dial setting
Settings to never use for abbywinters.com shoots
These settings are never appropriate to use;
- Never use “Low Lux” function for AW shoots, unless specifically agreed with the CD
- Never use the “scene selection” function for AW shoots (presets for fireworks, sunrises, etc)
- Never use the “Picture Effect” function for AW shoots (over-saturating specific colours)
Check manual
There are numerous handy features with this newer camera, so we encourage Shoot Producers to spend a hour with the manual and camera to see what’s possible.
Setting a suitable shutter speed
Shutter speed is different to the frame rate. Here’s an excellent 10-minute video explaining the difference. The frame rate for AW videos never changes (always 50p), but the shutter speed can change when shooting. However, it actually seldom needs to, in AW videos.
A good rule of thumb is the shutter speed should be twice the frame rate – this makes video footage look “natural” and “normal” to humans.
Our frame rate is typically 25, so our shutter speed should be 50 (that is, each of the 25 frames we’re recording each second, are exposed for 1/50th of a second). This will ensure crisp images, and model moves rendered clearly.
The shutter speed should never be reduced below 1/50th (motion blur will be introduced into each frame), but increasing the shutter speed in brighter environments up to a maximim of 1/100th is always fine. Higher than that, some weird (not-preferred) changes can occur, so using the ND filter is preferred to reduce brightness and retain a sensible depth of field with the aperture.
Audio adapter settings
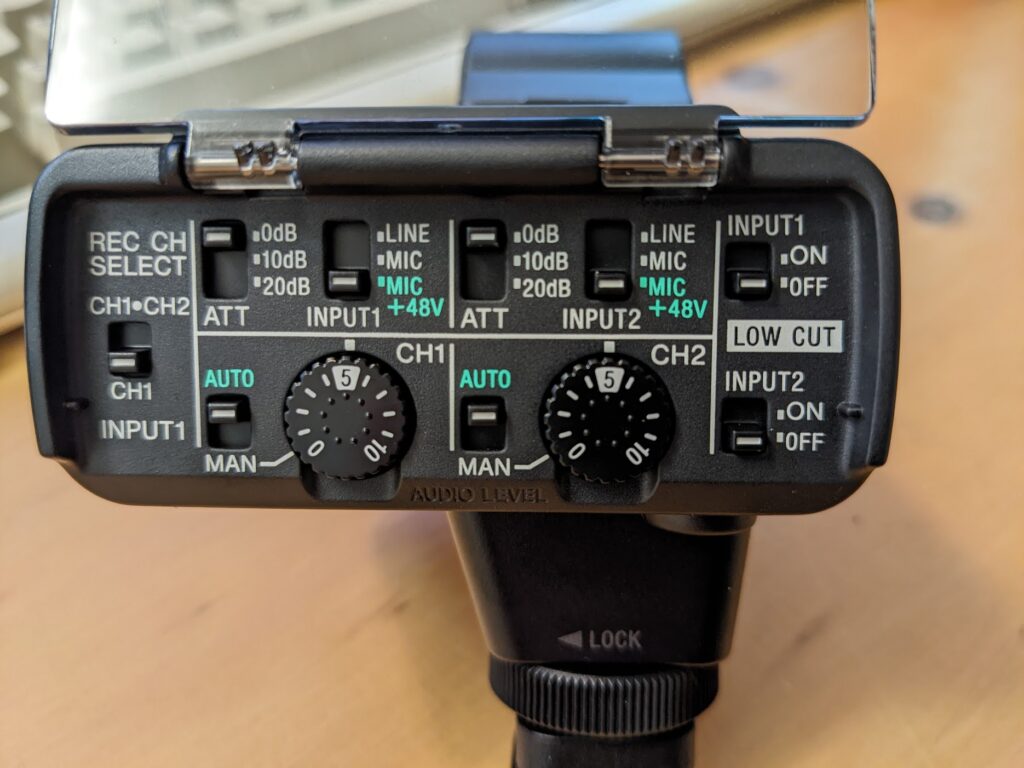
Defining the operations of the audio adapter. Note that audio on abbwyinters.com shoots is always recorded in mono. We will duplicate the single track recording in post production to the other channel. When two mics are used, the audio is mixed equally, and is converted to mono in the mixdown of the master edit.
-
INPUT 1 / INPUT 2
- Sockets on the audio adapter for microphones. Some settings can be changed on a per-mic basis.
- Most Shoot Types use INPUT 1 only (see below)
-
REC CH SELECT
- “Record Channel Select” – This function chooses which of the two audio tracks the mic inputs are recorded on
- For abbywinters.com shoots, always set to CH1
- This setting never changes for any abbywitners.com Shoot Types
-
ATT
- Stands for “Attenuation”, how the incoming signal is automatically reduced (this is required with some types of mics or musical instruments)
- For abbywinters.com shoots, always set to the lowest reduction (most sensitive mic), 0dB for both INPUT 1 and INPUT 2.
- This setting never changes for any abbywitners.com Shoot Types
-
AUTO / MAN
- AUTOmatic or MANual gain control. The sensitivity of the mic is controlled by the knob (MAN), or by the electronics in the audio adapter (AUTO)
- This is called AGC, Automatic Gain Control. The electronics react in about 10 seconds to changes, and makes the mic less-sensitive if there are loud sounds. Similarly, during quiet periods, over about 10 seconds the sensitivity of the mic is increased automatically.
- This setting never changes for any abbywitners.com Shoot Types
- For abbywinters.com shoots use AUTO, for both INPUT 1 and INPUT 2.
- This setting never changes for any abbywitners.com Shoot Types, unless there is a creative imperative not to automate this (eg, recording ASMR-like material).
-
LINE / MIC / +48V
- We only use Sennheiser MKH-416 condensor microphones, which require 48+ volts to operate
- Set to +48v for all abbywinters.com shoots, for both INPUT 1 and INPUT 2.
- This setting never changes for any abbywitners.com Shoot Types
-
LOW CUT
- In theory, cuts out some wind noise (“rumble”). In practise, it is completely ineffective, and causes human voices to be recorded poorly.
- Set to off for all abbywinters.com Shoot Types, for both INPUT 1 and INPUT 2.
- This setting never changes for any abbywitners.com Shoot Types
The settings in the below image applies to all abbywinters.com Shoot Types.
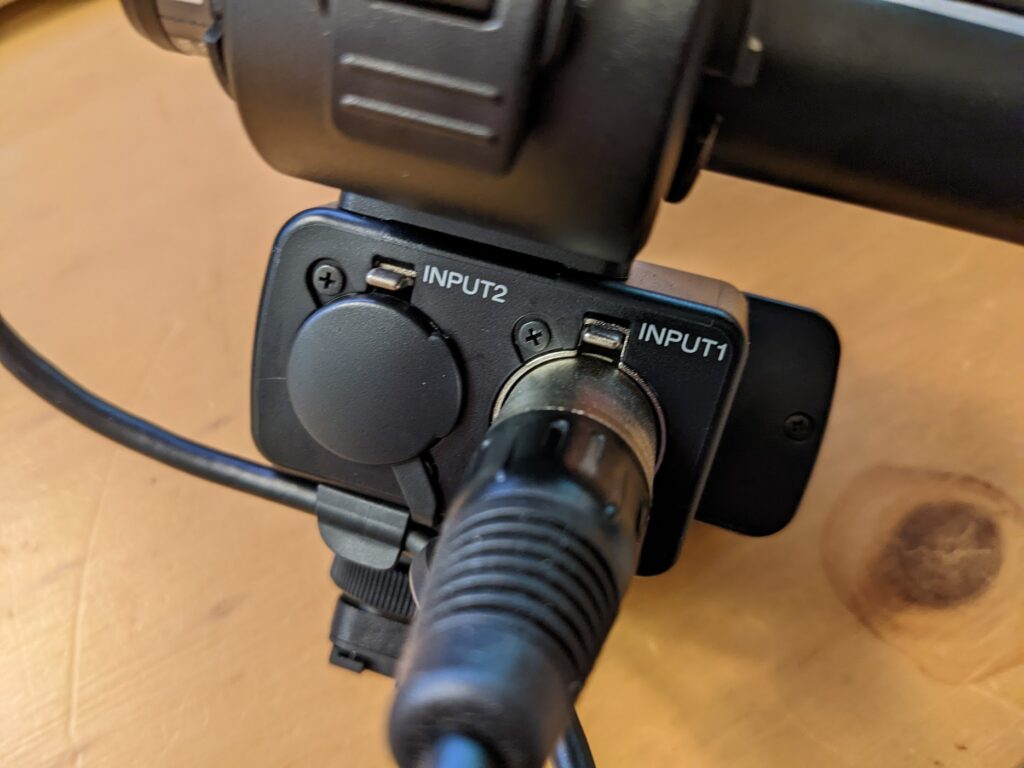
Single mic input
For any abbywinters.com shoot that only has one mic connected to the audio adapter – Solo, GG, GB, GD, etc.
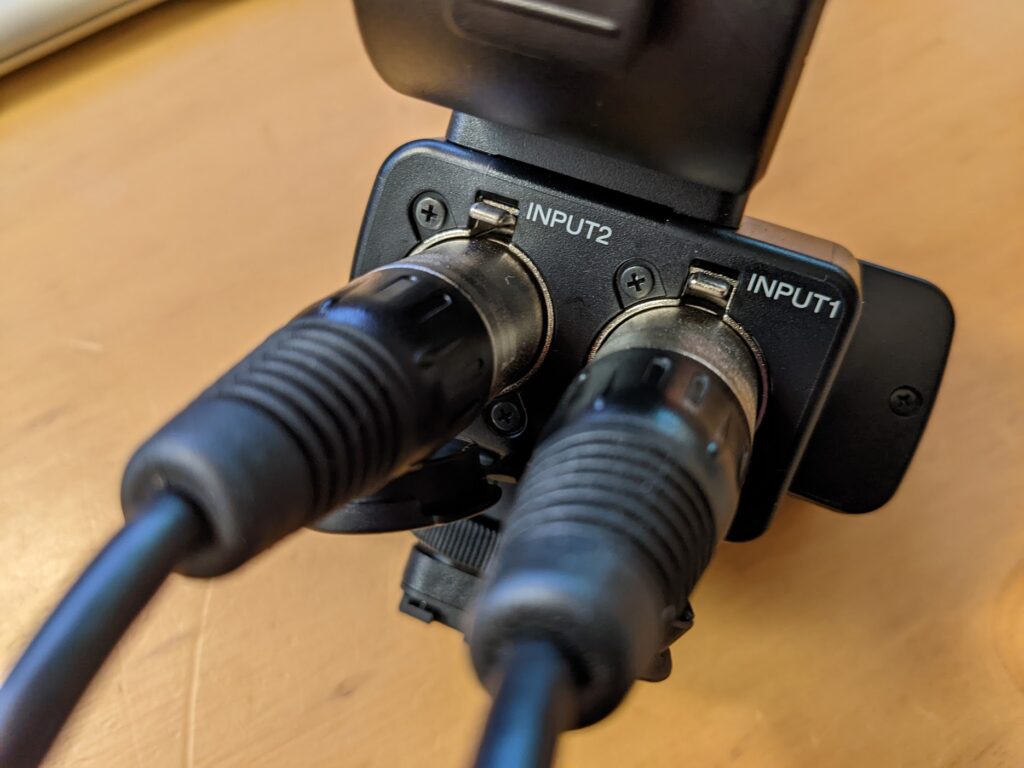
Two mic inputs
DIM and SIM shoots always have two mics conncted to the camera, one closer to the model, one further away (more info, Part 2 / IM Audio Setup). No settings need to be changed on the audio adapter when two mics are used. It does not matter which mic is connected to which input.
To capture an XCU (Extreme Close Up) image for stills, follow this process.
- Attach close-up lens; zoom in fully
- Canon 500D “Close up lens” (or equivilent) is recommended
- Let the model know what’s happening next
- Identify the desired focal point
- Position the camera so the front of the lens is about 5cm (2 inches) from the focal point- attempt to focus, unlikely to be able to
- Repeate this process until focus can be locked on the desired focal point;
- Move the camera away from the focal point by one centimetre (half an inch)
- Attempt to achieve focus
- As soon as focus can be locked, stop moving the camera away from the focal point
- Move closer by 1cm (half inch), to see if focus can be locked closer tot he focal point
- Back out very slowly, continue checkin for focus – we need the camera to be as close as possible to the focal point
- Capture the frame!
