Working with grooming issues
Why are tattoos an issue?
Tattoos on models can be a big problem for us. We know that young women who have tattoos are far more likely to want to do nude modelling (they tend to enjoy taking risks in life), but we also know that tattoos are a turn-off for a large section of our customer base.
For any model on the site with a tattoo, there are many more rejected during the application process (around 70% of models who apply are rejected, and tattoos are the main reason).
Unfortunately, we’re not able to find enough models with no tattoos, so we sometimes need to shoot models with tattoos, but “shoot around” them (that is, hide them).
Information about tattoos are stored in model’s MDB records – we always carefully gather info on size and placement, and add it to the “tattoos” field in the MDB.
When can tattoos be shown?
By default, no tattoos on a model are permitted to be shown in the main shoot (stills or video), Backstage, Dressing room.
However, occasionally the CD will specifically permit all tattoos (or, some specific tattoos) to be shown in a shoot. If this is the case an important note, marked in yellow, will be added to the models MDB record – scrolling down may be necessary.
This decision is made when it is deemed that it would be more disruptive to attempt to hide the tattoo rather than showing it, however, these tattoos should not be emphasised and the models should never discuss tattoos on camera.
Failing to shoot around a model’s tattoos will negatively affect your grooming score, and may result in a 1-assessed shoot overall in some cases (a shoot we cannot release on the website!).
If a Shoot Producer does not feel confident to create an excellent shoot with no tattoos visible, they may reject the booking when first offered the opportunity (Shoot Producers should always review a model’s MDB record, before accepting a shoot booking!).
Making shoots of models with tattoos can be challenging, but we have some tips to help.
How can tattoos be hidden?
Important things to remember:
- Customers pay to see nude models – they can feel cheated when models do not get fully naked
- Working around a models tattoos perfectly in the main shoot counts for little if they are shown in Backstage or Dressing Room
This Carmen M Solo is an excellent example of how to work around tattoos. She has 6 tattoos.
- A rose on the back of her neck
2. A kitten on the top of her foot.
3. A dog on the front of her left thigh
4. A large tattoo on the back of her left calf
5. Writing on the back of her right ankle
6. A strawberry on her left bicep
Yet, none of these are visible in her Solo shoot! How is it possible? Well, there are several techniques to hide a model’s tattoos.
Hide tattoos by using the model’s hair
If the model has long hair, it may cover back-of-neck and upper-back tattoos. While it might look sweet if she braids it, if it will hide a tattoo – that is the bigger priority!


Tip: The model may need to be directed to tilt her head head backwards in some shots, so the tattoo is fully covered.
Hide tattoos by using clothing
Clothing can be a real help when hiding tattoos, so long as it allows a full shoot to be captured.


When using clothing to hide tattoos consider the order the model gets undressed and don’t make the shoot more difficult than necessary! For example,
If she has a big tattoo on her lower back, capture her nude bum Must-Have while she still has her shirt on, and remove the shirt later in the shoot (once her buttocks have been appropriately explored).
As with all things in life, planning is key!
Hide tattoos by using objects or props
Can the tattoo be hidden behind an object or prop in some shots? This technique can look odd if the prop or object is not used elsewhere in the shoot (at least a little!).
Below left, Carmen is using an umbrella to hide the tattoo on her leg in the Must-Have NFBSN, before going on to pose with the umbrella in ways that show off her body and look fun.
Note that this umbrella is not considered a personal prop, as umbrellas are not personal enough to meet the criteria of personal prop. If she had hand-carved the handle, it may be a personal prop. So in this case, it’s just a colourful General prop.
Hide tattoos by using the model’s position
Direct the model so her tattoos are oriented away from the camera. This is the method our customers appreciate the most (they pay to see nude models, not models partly nude with bits of clothing left on to hide tattoos!).


In summary
Always check a model’s MDB record before a shoot to see if a “tattoo management plan” is required, and implement one so there’s less stress on the shoot day.
The Shoot Producer Trainer (or in their absence, the CD) will always be delighted to discuss ideas to work around tattoos, so get in touch!
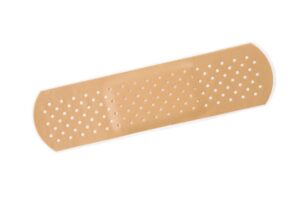
Small grooming issues can cause a shoot to be cancelled, but covering grooming issues can save the shoot. Bandaids (sometimes called “sticking plasters”) are one tool in the arsenal Shoot Producers have to make shoots happen.
Models with injuries to their fingertips (eg, broken nail, chewed nail, damaged cuticle) must be covered if the model is doing EXP or INS level posing (including GGT3 and GBT3), as XCU shots of her / her partner’s vulva will include XCU of her injured fingertips as well.
Bandaids are used naturalistically, and are not addressed otherwise – the way as people in the real world sometimes have a bandaid on their finger.
In what situations is it appropriate to use bandaids for grooming issues?
Bandaids are excellent for covering small grooming issues – no bigger than 1cm / half an inch in diameter. A pimple or a small cut, for example.
Only one bandaid can be used per grooming issue.
Small scuffs and marks are things most people acquire through their daily movements. Sometimes it is better to leave a small mark uncovered than to risk drawing attention to it with a bandaid. The Collective should be consulted whenever an SP is uncertain about the correct approach to take.
Where (on the model) is it appropriate to use bandaids for grooming issues?
Bandaids are particularly useful injuries on a model’s fingers or knees, and in some cases, shoulders, hands, legs or arms – places where people typically apply band aids.
Applying a band aid to areas where band aids are not typically found (eg chest, buttocks, pubic region is never suitable). Their presence in these places highlight the issue rather than casually hide it.
What are the appropriate bandaids to use?
First, any bandaid used must be new and clean, at the start of the shoot. It should be changed to another new one after lunch (ie, for the start of the video).
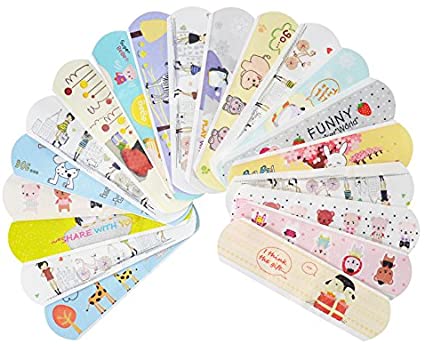
Ideally, the bandaids will be colourful and cute – not the “skin”-coloured beige ones. However, if it’s new and clean “skin” coloured one, that’s fine too.
How many bandaids can be used?
An absolute maximum of two bandaids can be used on a model in a shoot. Only one is preferred.
Risks with using bandaids
There is a risk when bandaids are applied that they will not remain in place for a full shoot (particularly when applied to body parts where band aids are not usually applied). This is a greater risk for multi-model shoots, where rubbing might cause one to come off.
A band aid could make the area hot and sweaty, exacerbating any redness, making the issue appear more red than it already was. SPs need to weigh up the likelihood of a bandaid remaining on for a full shoot before one is applied.
Check if the model have a latex allergy before applying band aids. It is possible to buy latex free band aids but these are not the standard ones.
The Situation
The model has arrived on set with perfect grooming, except for one large ingrown hair on the side of her pubic region.
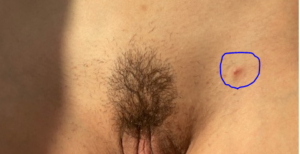
The SP has consulted with The Collective and the decision has been made to go ahead with the shoot.
The SP now needs to consider how to approach things. They will need to work around the grooming issue so it doesn’t shows up on camera (similar to hiding a tattoo), without customers feeling like they have ‘missed out’ on seeing all of the model with nothing in the way.
For the shoot to be approved it is likely that this pimple will not impact full body wide shots (needed for free movement during MMaiA) but for poses where the camera will get closer and explore things in depth, model position and the way they are orientated towards the camera will need to be carefully considered . It is still a requirement to get a mix of Wide, Mid , CU and XCU coverage at the highest posing level.
The SP needs to find eight poses to explore (in depth) at the highest posing level, while keeping the grooming issue hidden from customers. Here is a list of poses that could be explored in this situation.
Hiding pubic area grooming issue. Position 1: Hips high, back low
Suitable for all posing levels, although easiest at NDE . For this position to hide the grooming issue, the model has to be positioned so that the grooming issue is on the side of the model’s body that is furthest away from the camera. The camera height will also contribute to ensuring the grooming issue remains hidden, low down looking up at the model will be needed.
To show OL , EXP or INS details the model will need to drop her hip and the leg closest to the lens.
When getting shots where the models vulva and anus are square to camera (for OL, EXP or INS), the camera needs to be positioned lower than the pubic mound. That should ensure the grooming issue is out of sight.
Explore Hips high, back low pose in more detail in the Hips high, back low pose blog.
Hiding pubic area grooming issue. Position 2: Frog pose
So long as the model is supple enough, directing her to press her own thigh into the grooming issue to make it vanish works well. Frog pose has the added benefit of opening up the vulva and anus, making this position great for exploring OL, EXP or INS posing levels but this could also be achieved while the model is laid on her back.
Explore frog pose in more detail in the Frog pose blog post.
Hiding pubic area grooming issue. Position 3: Laid on her back

Another position ideal for exploring the NDE posing level. The grooming issue needs do be positioned on the far side of the model’s body to the camera. to be masked and the camera needs to be positioned below the model looking up or the model needs to hug one leg into her body, covering the grooming error that way.
Explore Laid on her back position in more detail in the Laid on her back pose blog.
Hiding pubic area grooming issue. Position 4: Doggy
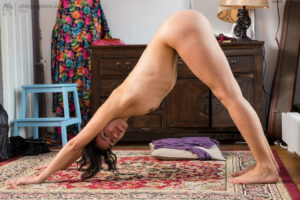
Doggy position is great to include as there are so many different variants of the position that can be explored (in depth). The model’s buttocks, anus and vulva are clearly displayed, movement can be included if she crawls and climbs and yet the pubic region is hidden from view by her own body at all times.
Explore Doggy position in more detail in the Exploring Solo position Doggy blog.
Hiding pubic area grooming issue. Position 5: Standing
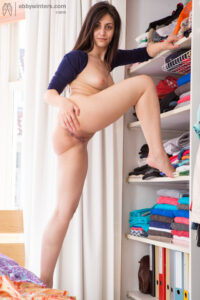
With the grooming issue positioned away from the camera, Standing position offers lots of opportunity to explore appealing aspects of the model while fully nude, including her: legs; buttocks; hip-to-waist ratio and back.
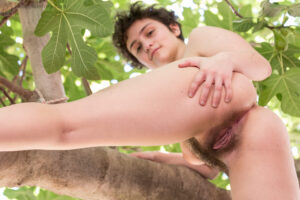
Hiding pubic area grooming issue. Position 6: Bum up
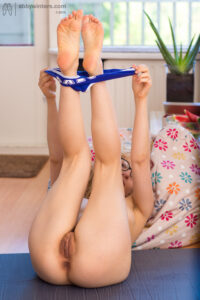
Getting a model to lift their legs up to the point where their buttocks also rise up, is a great way to expose the anus and vulva, while keeping any grooming issues around the pubic region hidden from the camera.
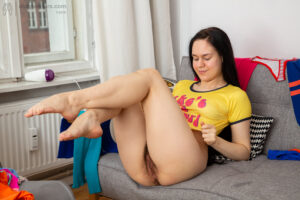

Hiding pubic area grooming issue. Position 7: Laid on her tummy

Simple but effective, if there is a grooming issue on the front of a model’s body, lay her down onto that area and it is gone!
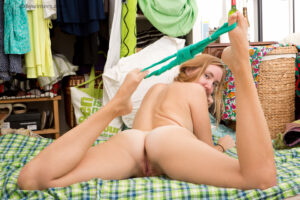
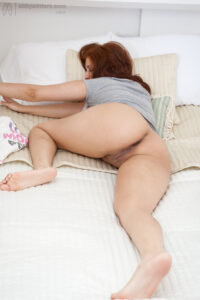
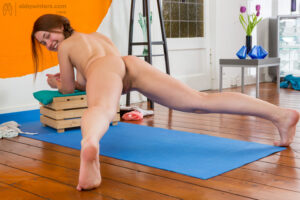
Hiding pubic area grooming issue. Position 8: Laid on her side
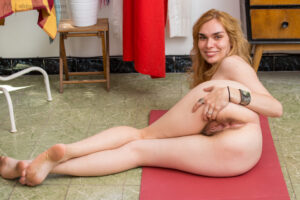
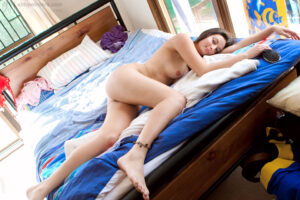
Following the same principles of having a model laid on her tummy, laying the model on her side can also be a great way to hide grooming issues from sight so long as the grooming issue is on the side of the model making contact with the floor / bed etc.
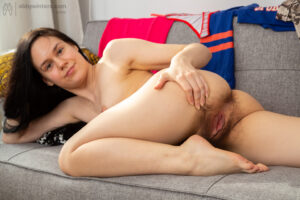
Hiding pubic area grooming issue. Position 9: Splits

Not every model is this flexible but when the right model comes along this position could easily be used to help hide a pubic region grooming issue, simply by ensuring the model is always orientated buttocks to camera.
Hiding pubic area grooming issue. Position 10: Shoulder stand
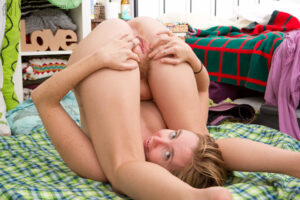
While at first glance this position looks like something only a contortionist could do, most supply young women should find they can get into this position or a variation of it. Whenever a model can press the grooming issue into her body, it will be hidden from customer eyes.
Other Options for hiding buttock grooming issue
Use the models hands to cover the grooming issue!
Rather than hiding the whole of the pubic region, another option is to place the models hands over the grooming issue. This is very simple to do and so long as it is done in a casual and natural way shouldn’t raise customer desire or suspicion about what is under the model’s hand. This will be easiest to do for EXP and INS posing level, where the model’s hands are reaching around that area on her body anyway.
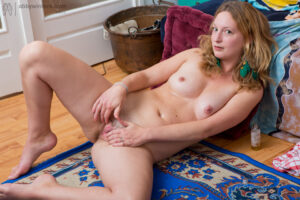
Use clothing to cover the grooming issue
Whenever clothing is used to hide a grooming issue SPs need to be careful that the clothing use does not look as if it is there to hide a grooming issue – the clothing use on it’s own needs to be appealing and bring value to the shoot. Customers get frustrated when model’s bodies are covered and hidden from them to hide grooming issues but they are excited by clothing use that brings sexual gratification.
If clothing is used to hide a grooming issue, unless confirmed by The Collective, this can not be the only method used within the shoot. customers should still get the opportunity to see the model fully nude at some point in the shoot, especially in Stills, where it is easier to momentarily direct models into poses where grooming issues are twisted away from the camera.
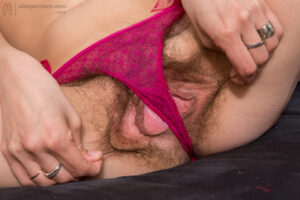
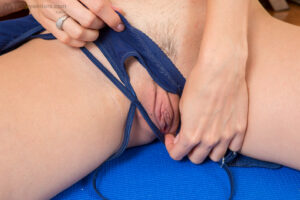
Model’s can be directed to wear t shirts as a pair of shorts to cover the grooming area for a few poses in a fun and colourful way or be shot wearing a skirt and no panties for content that is very appealing but also helps to keep the pubic region covered.
See also FAQ – Can I hide the grooming issue with a cute band aid?
